My family has a long history with Vanilla. My grandparents brought back two bottles of Mexican Vanilla eons ago and ever since we’ve been rationing its use in recipes. I’ve searched far and wide for the same bottles of vanilla but have always come up short. Store bought vanilla just doesn’t taste the same. So when I wanted to make a homemade gift for my family this Christmas, I knew what I had to do, I had to recreate the infamous Mexican Vanilla. Through my research, different types of vanilla beans have distinct flavor profiles. It turns out you can actually buy Mexican Vanilla Beans just like those used in my family’s favorite vanilla! In case you were wondering were this fits into keto, vanilla is great for some keto ice cream, homemade whipped cream or even a cheesecake! So, after getting some beans and a cool bottle, I was off to vanilla land.
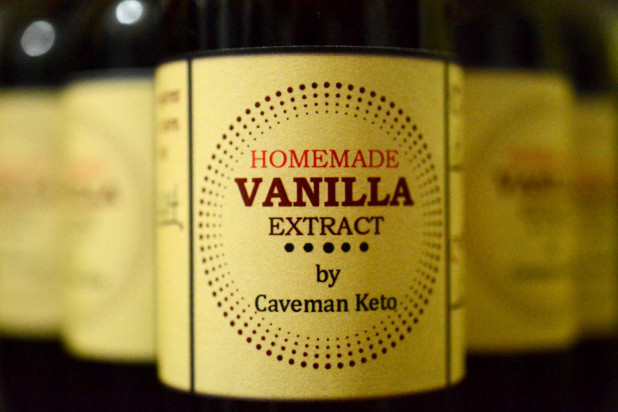 I couldn’t believe how well they turned out! When I handed them out at Christmas I’m not sure people realized at first that they were a homemade gift 🙂 I guess my Photoshop skills were too good.
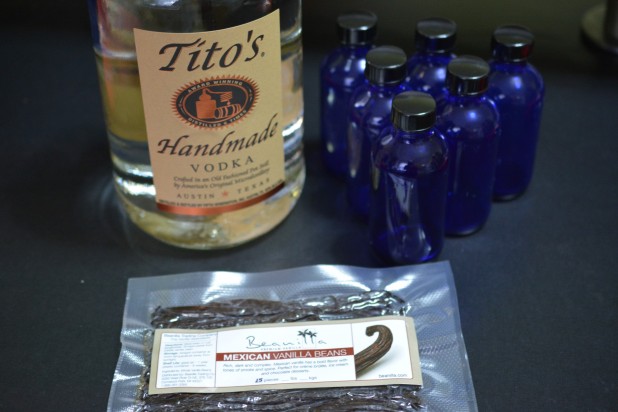 Here’s the ingredients you’ll need. The most important is the Vanilla Beans. You can get any type you want but I was specifically going for the flavor of the Mexican Vanilla Beans. The vodka actually doesn’t matter that much but I used a high quality one anyway. Finally you need bottles. You can put it in anything you want. I was aiming for a specific look so I grabbed a dark blue Boston Round Bottle. This has the added benefit of not letting as much light in.
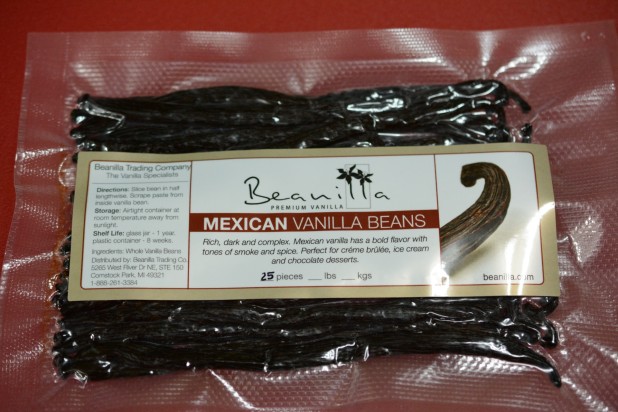 Here’s a closeup of the beans. They’re from a company called beanilla who carries a ton of different types of beans.
 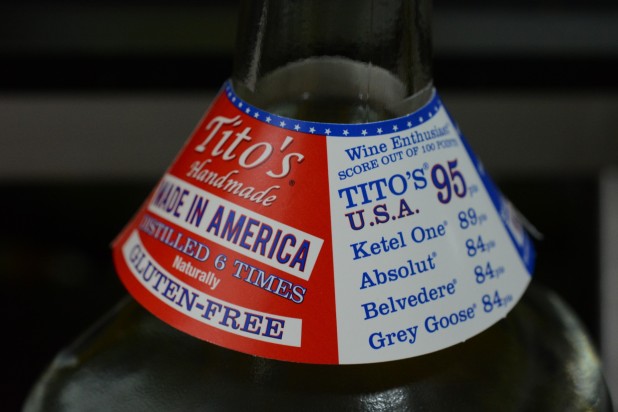 Next up is the Vodka. In case you hadn’t heard of it, Tito’s is widely regarded as one of the best vodkas on the market. Its distilled 6 times and has won a ton of awards. As an added benefit its Gluten-Free! As an even bigger benefit its cheap!! You only need a 750 mL of vodka for this recipe but it was cheaper to buy the handle of it so I got the larger one. If you won’t drink the vodka separately just get a 750 mL and you’ll use it all up in the recipe.
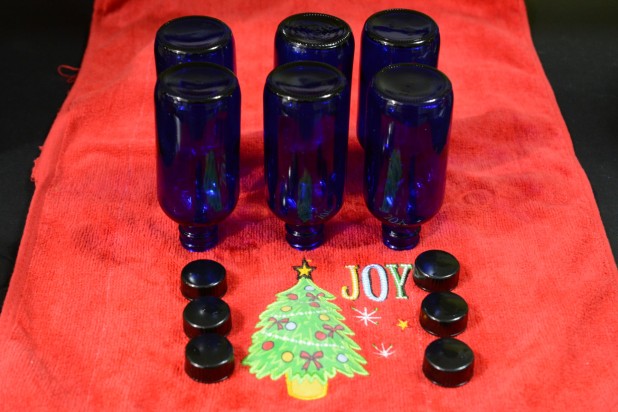 Wash the bottles out and make sure they’re dry!
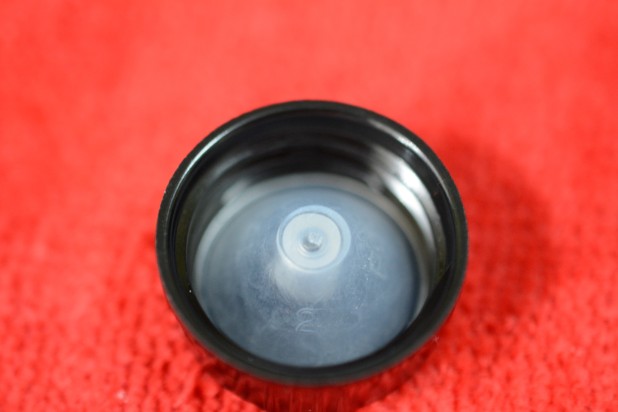 The caps have a nice seal on them.
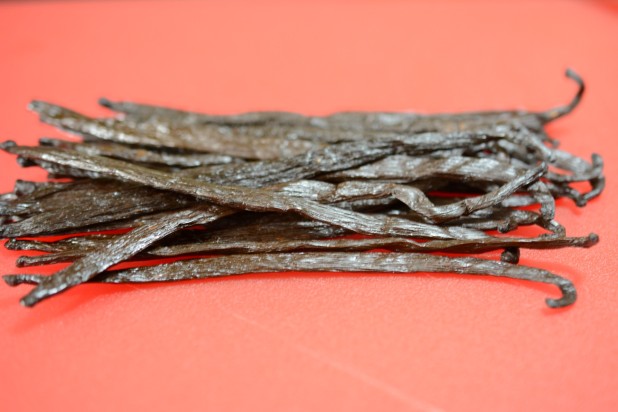 And here is the star of the show, the Vanilla Beans!
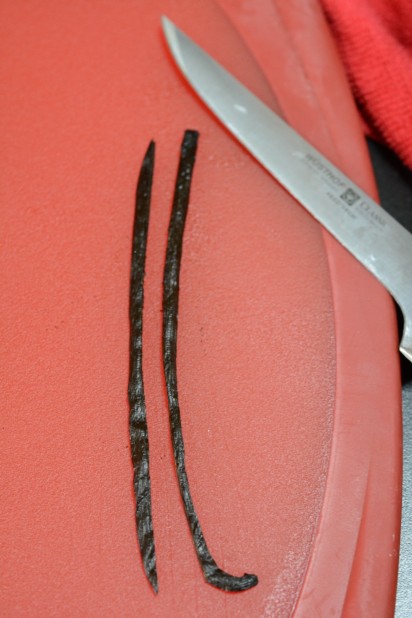 Now, with a really sharp knife, slice the Vanilla Beans lengthwise.
 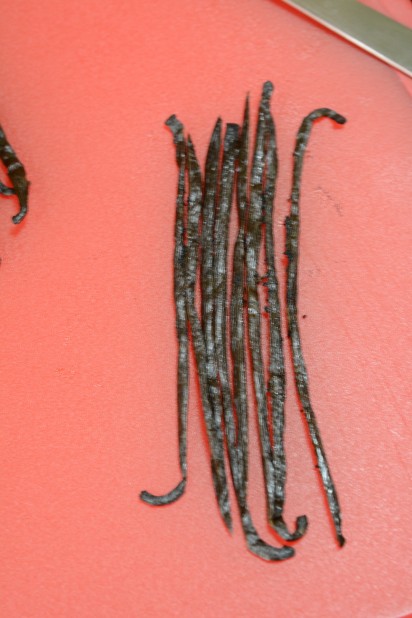 This is a picture of all four vanilla beans sliced lengthwise.
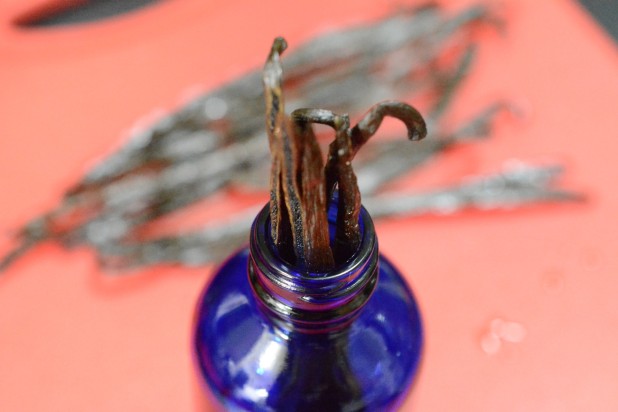 Now place all of the beans into the Boston Round Bottle. Since they are a little bigger than the bottle, I just pushed them into the bottle so they twist into place.
 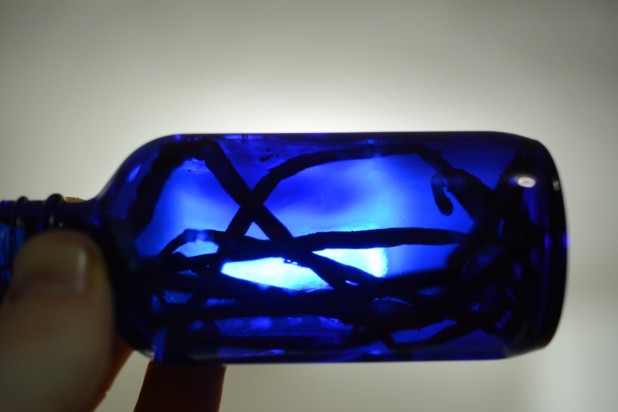 Here’s what the vanilla beans look like in the bottle.
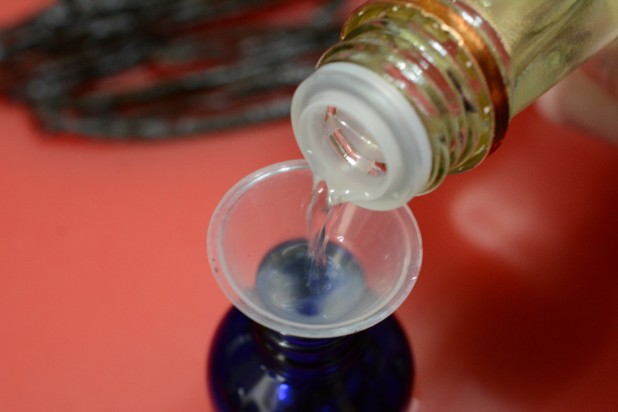 Next add the vodka to the bottle. Ideally, use a flask funnel, but if you don’t have one you can just free pour.
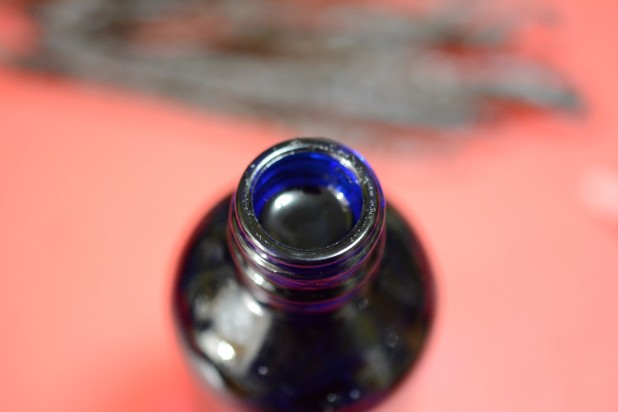 Here’s view of the filled bottle. I’m not sure I’d fill it as full next time as there isn’t much room for shaking. But you do want the vanilla beans to be covered.
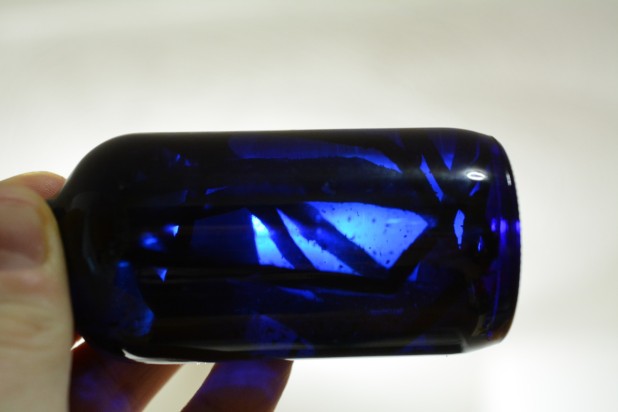 Now here’s the same shot but with the vodka added. You can see the seeds of the vanilla beans starting to mix in with the vodka.
 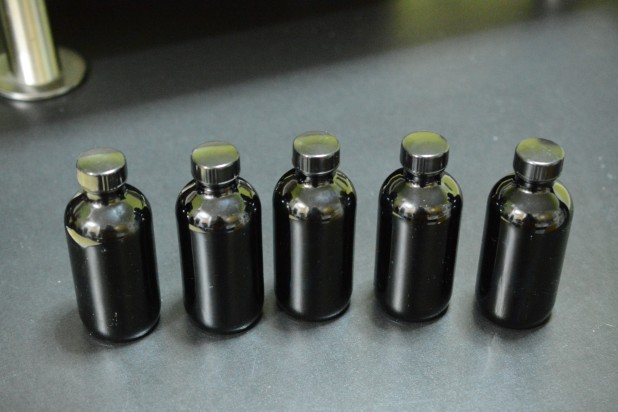 Here’s five of the bottles ready to be labeled!
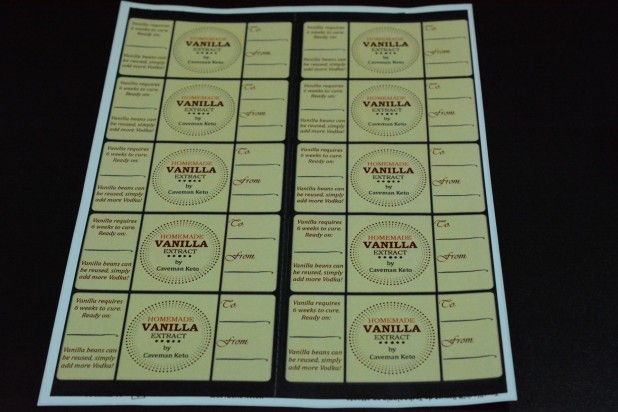 Now for the labeling. I spent a decent amount of time trying to think what I wanted to do for the labels. I wanted to print them and fairly simply. So, I picked up a pack of Avery 5263 2″ x 4″ labels. This way I didn’t have to print commercial, I could just print them on a laser printer.
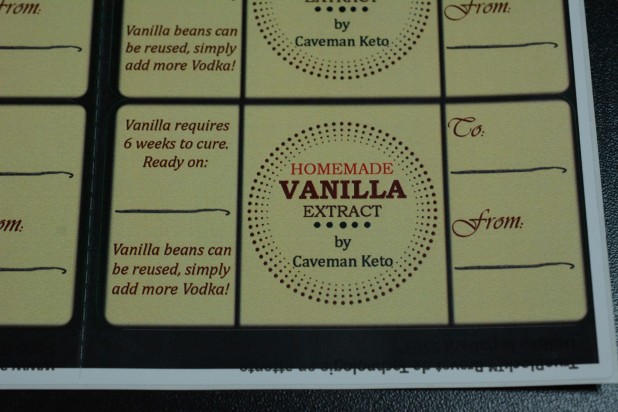 Since I wasn’t on top of it enough to make the vanilla so it was ready for Christmas, I added a ready by date on the label along with a To and From line. I made the lines from a picture of a vanilla bean for an added touch. You can download my Template in Word here.
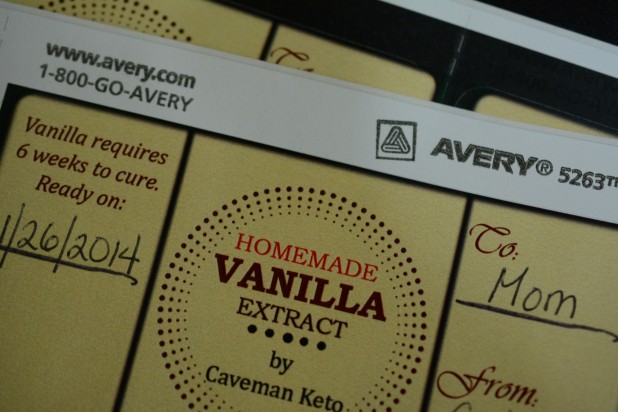 Make sure to fill out the labels before you put them on the bottles as its a lot easier 🙂 I had my wife write out the labels because my handwriting is miserable …
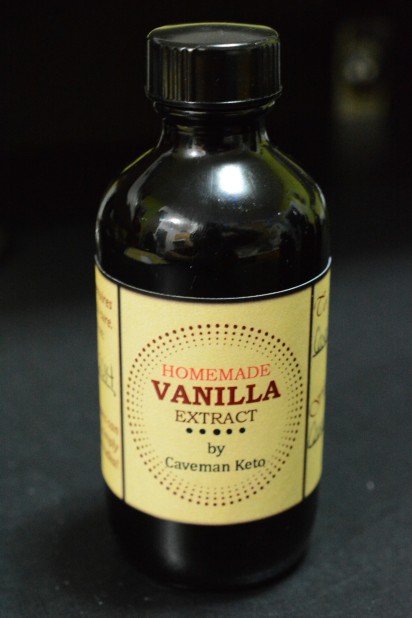 Homemade Gluten-free Vanilla Extract! Isn’t it beautiful?

- 750 mL Vodka
- 24 Vanilla Beans
- 6 Boston Round 4 Oz Bottles
- Labels
- Start by assembling all the ingredients for the vanilla
- Wash and dry the Boston Round bottles
- Slice the vanilla beans lengthwise
- Add 4 Vanilla Beans per bottle, or 1 bean per ounce depending on your bottle size
- Carefully fill the bottle with Vodka
- Cap the bottle and shake the Vanilla
- Apply the labels
- Let the vanilla sit for 6 weeks in a dark location; shake somewhere between every day and every week
 Caveman Keto Weight loss through low carb cooking


Home-made vanilla is so good. If you got a great deal on beans, lovely. If beans are expensive of you’re feeling frugal for home use, do note that you can do a whole bottle (750ml) of vodka or rum or other spirit of your choice with only about 3 large split beans or 4 smaller ones.
For my home pantry I used a nice bottle of Metusalem 15 rum. I poured myself a shot and added 3 large split beans. Do yourself a favour and keep a second bottle of the same spirit handy. Decant finished vanilla as needed to a smaller bottle for baking & cooking use. Top up the main bottle when you decant finished vanilla, and you’ll extend the life of those beans for a long time. You might want to add a new split bean every year or two, depending on how quickly you use up the vanilla.
The little specks of vanilla bean are quite lovely and you can coax them out with a vigorous shake before decanting or pouring. Otherwise they sink to the bottom and flavour the next batches.
I did something similar last year, except I made “bourbon” vanilla. Yummy. It’s got great vanilla flavor and a little something extra.
Also…did you know that putting a tiny bit of vanilla in your scrambled eggs is really good? My Mom used to do that when whisking the eggs when I was a kid. Adds an interesting flavor.