Back in college I used to own a deep fryer. I remember it fondly; we would bring it out, fry some tater tots, fry some chicken tenders, coat candy in pancake batter and fry that, etc. Basically the most unhealthy thing imaginable. I got rid of it a long time ago but recently I’ve been thinking if it could be used as an effective, time saving tool for the ketogenic diet. Fryers have gotten a bad rep because most of the food that they are used to cook are carb heavy, sugar laden disasters that I outlined above. What if I could cook keto friendly foods in the fryer? So with that in mind I set out to pick out a new fryer. I settled on a DeLonghi Deep Fryer and started frying! Today I’ll show you the results of some of the obvious frys such as Chicken Wings and some cooler ideas like almond bun coated jalapeno balls.
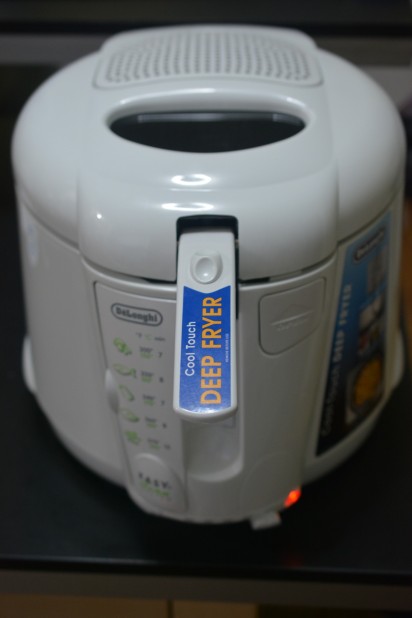 Here is the beast in action. As I mentioned above, I read all the reviews on Amazon, and finally settled on the DeLonghi D677UX Deep Fryer. It was a tough decision because I had a few specific requirements that I needed to fulfill. The number one thing I wanted was the ability to use lard as a cooking oil as opposed to something like peanut oil or vegetable oil. The issue is that lard is a solid at room temperature so many of the “higher” end models of fryers use immersion heating elements to heat up the oil. Basically it is a large coil of metal that gets really hot and heats the oil. If you use lard with one of these, the solid lard will burn out the heating elements. As it heats up, some of the oil will melt and turn to liquid, then causing air gaps, which will let the coil get to hot, then lard will drip on it, causing little explosions of near boiling grease. Basically a recipe for disaster. So, I had to go with a fryer that was designed closer to looking like a crockpot or rice cooker rather than one with heating elements in it. This left the Fry Daddy line and this one. The second thing is that my wife was already pretty opposed to the idea and I wanted one with filters and that was easy to clean. This one has an air filter on the top, all of the cooking happens with the lid closed. Also, it has a spout at the bottom so it is easy to drain and clean the unit. Now you could also fry in just a dutch oven, but then you would have grease everywhere and cleanup would involve draining a 30 lbs cast iron pot with boiling oil in it … Anyway, that’s the long reason why I went with this model. On to the frying!
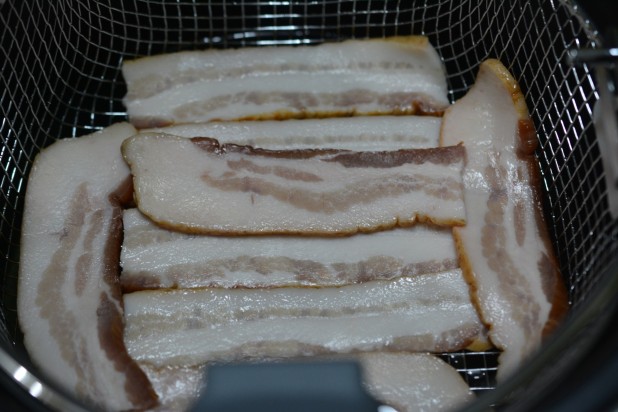 First up in the fryer was some regular old bacon. I cut it up into sections so it would fit in the frying basket. With this model you load the basket, close the lid, then drop the food into the oil after the lid is closed.
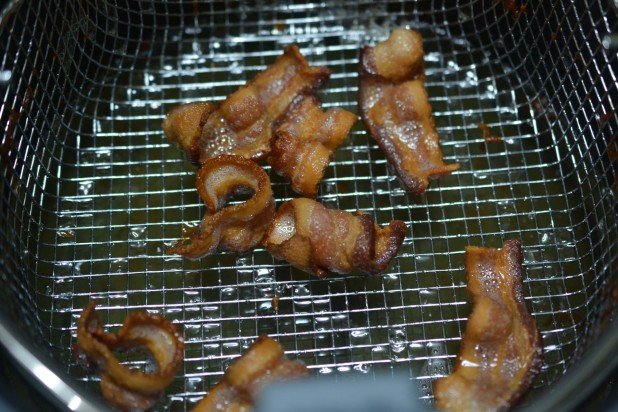 I don’t know what I expected to happen but the bacon shriveled up as shown above. The bacon was crisp and well cooked but it was really curly. As you know, I normally go to great lengths trying keep my bacon flat, with bacon presses and such. I’ll have to think about this one, possibly build a device that holds it flat during the frying.
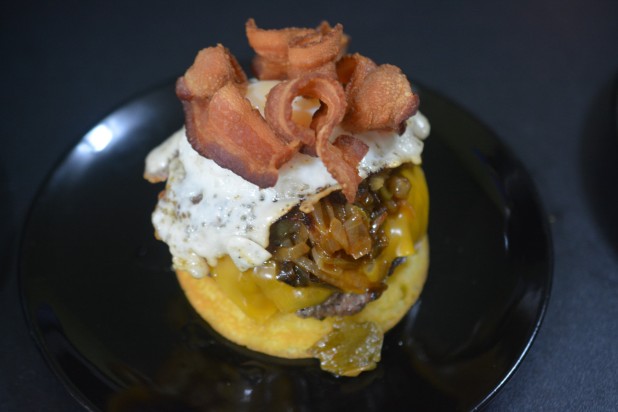 Never the less, the bacon served its purpose well and was delicious! I had a burger on top of an Almond Bun, topped cheese, then with pan fried onions and peppers, then an egg and finally the bacon pieces.
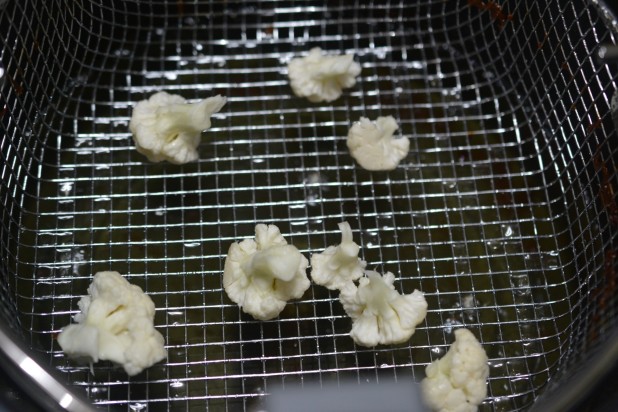 Next up, some vegetables. Cooking vegetables in a pan always takes a while and can often turn to mush. So, I decided to try some cauliflower florets in the fryer.
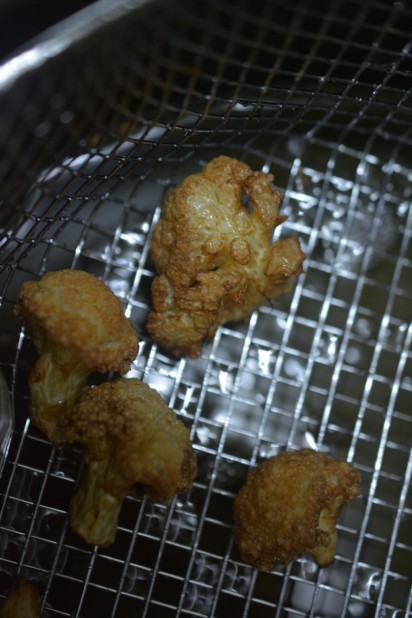 They turned out really well! The outside was nice and golden brown and the it was super soft. I would recommend trying this one again.
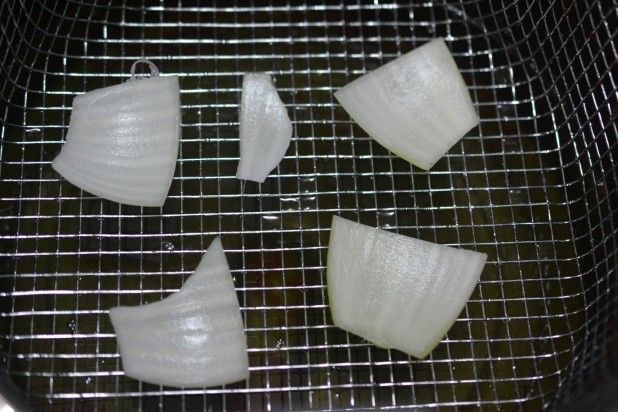
I love onions. I know they are a pretty high carb vegetable but I can’t help myself sometimes. So, I wanted to see if I could create a chip like texture with the onions. I chopped an onion into four parts and separated the layers as shown.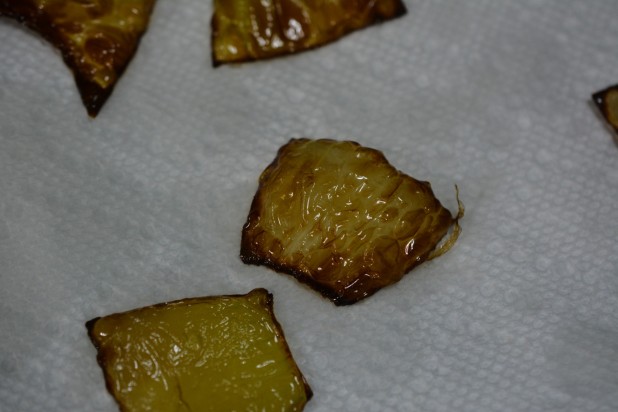
It went ok. It had a good taste and texture but it wasn’t crisp. I think the layers of the onions were too thick so it was a bit soggy.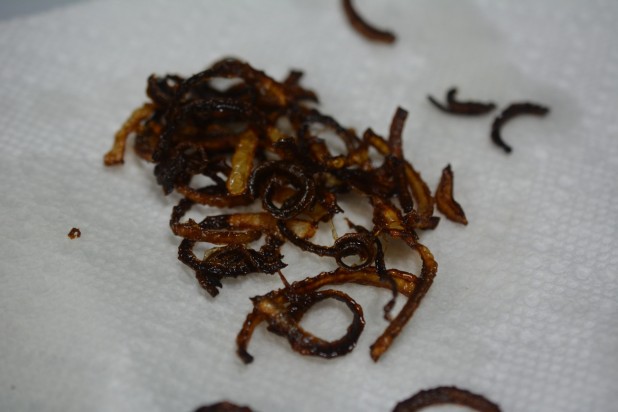
While I still had the onions, I wanted to recreate onion strings. This is a traditional topper for a green bean casserole but the type you buy from a store is battered. I just cut the onion really, really thin and threw them in! They worked out really well except they cooked super fast. Some of them shown above were perfect, some were a little over done. Also, they go through the mesh of the fryer basket. Next time I’ll just throw them into the oil in small batches and use a strainer to pull them out when done. I would definitely recommend using this again as a topper for recipes.
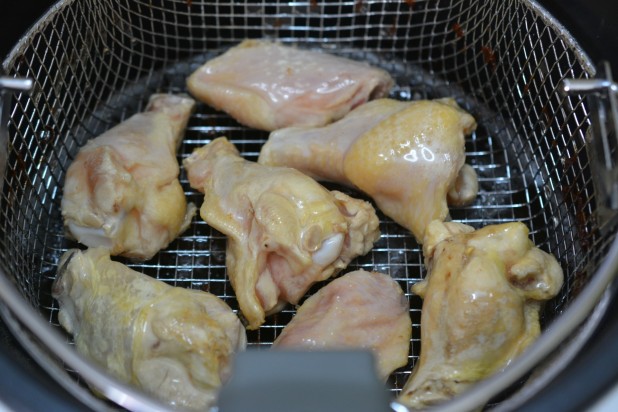
Now for the classic, Buffalo Wings! All I had on me were some frozen wings so that’s what I used. I first rinsed them with water to get rid of any ice particles, then dried them and threw them into the fryer.
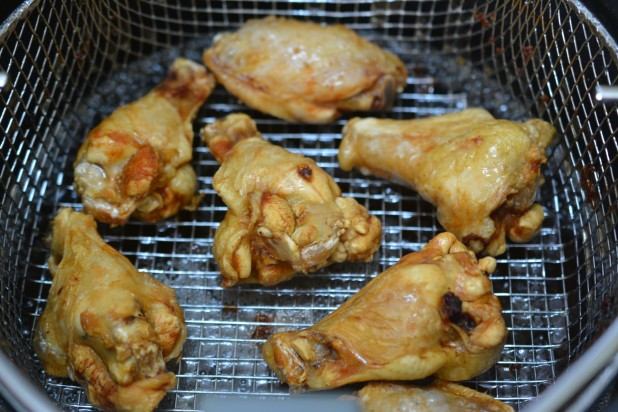
They turned out pretty decently. It was more crisp than when I baked them but I’ve had better in restaurants. I’m going to keep experimenting, maybe trying fresh wings and different oil combinations. Overall, I would make them in the fryer over the oven, but I need to figure out an ideal method to get really crisp skin.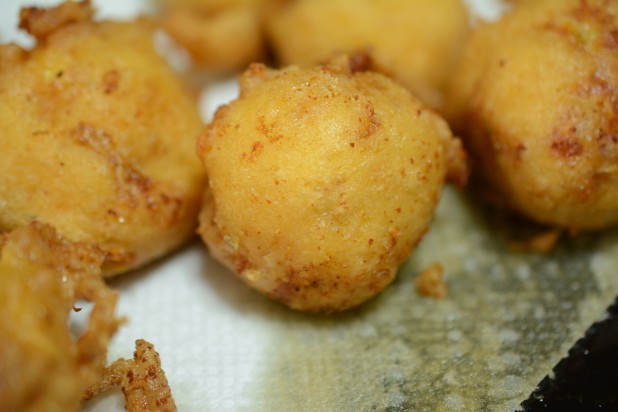
Finally, my greatest accomplishment, a reinvention of my classic Jalapeno Poppers. I had to think of a way to put it together that wouldn’t totally fall apart in the fryer. So, I fried some bacon, then combined cream cheese, cheddar cheese, sliced jalapenos and the bacon into little balls. Then a refrigerated the balls. Then I made an almond flour based batter with eggs and almond flour, dipped the balls, refrigerated the dipped balls, then fried them! I’ll have to do a separate article on them but they were amazing! It was gooey and and cheesy and spicy all at the same time. I think this batter will have to be a base for my future frying experiments.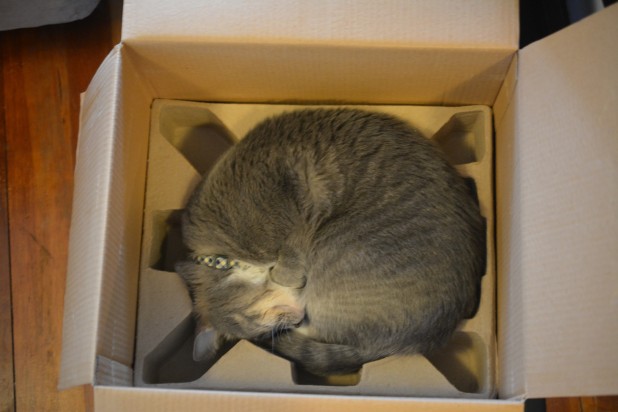
As an added bonus, the fryer box serves as the perfect bed for cats. It might be worth buying it just for your furry friend. He was quite sad when recycling day came and we had to get rid of his new bed.
So there you have it, my first foray into keto frying! Overall it went well and I’m happy with the results. In the coming weeks I’m going to try and render my own leaf lard, aka pork fat, and use that for the frying oil. Let me know in the comments what you’ve fried on keto and also any ideas you have for future frying adventures I should try!
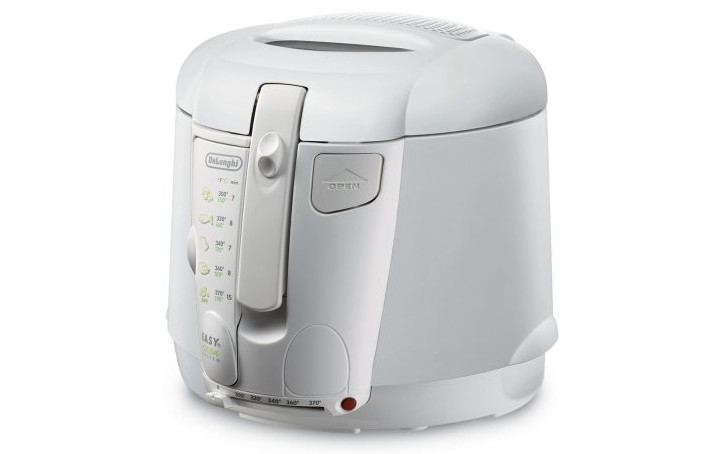 DeLonghi Deep Fryer DeLonghi Deep FryerIf you follow the blog, you know that I’ve gotten a little obsessed lately with my Deep Fryer to the point where I post a weekly Fry-day article. I had one of these in college and it always made me feel guilty using it. I feel so liberated that there are all sorts of keto friendly fried foods like nuggets, wings and brussels sprouts! |
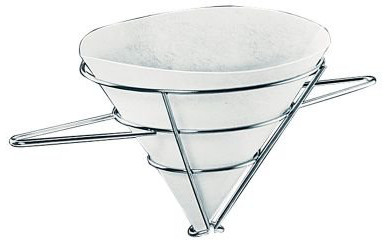 Cone Filters, 50 Pack Cone Filters, 50 PackTo keep your frying oil clean, you really need to filter it on a regular basis. Fryers will come with one or two filters in the kit but they run out fast. This 50 pack will keep you going for well over a year |
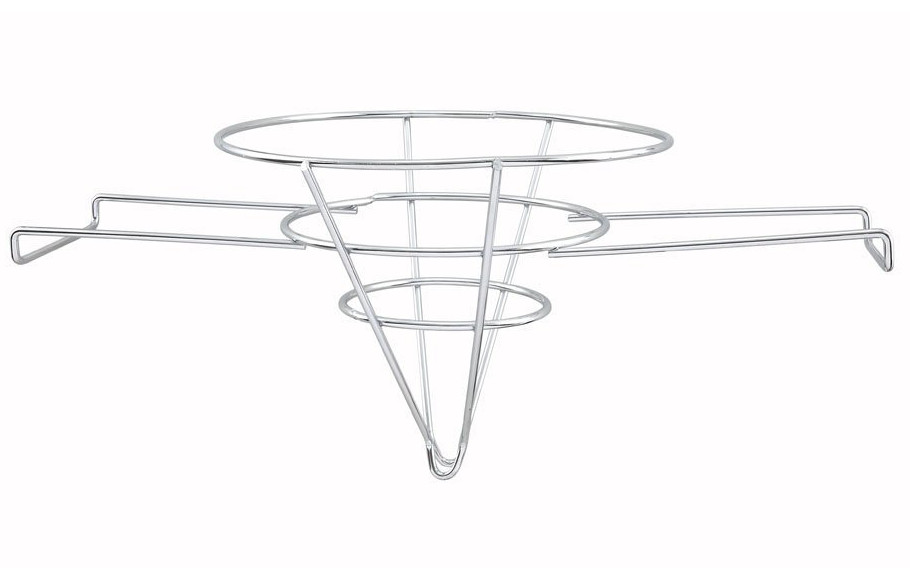 Filter Stand Filter StandUse this stand in conjunction with standard cone filters to easily filter your oil. This system is in place of the filtering method that comes with your fryer. |
 Caveman Keto Weight loss through low carb cooking
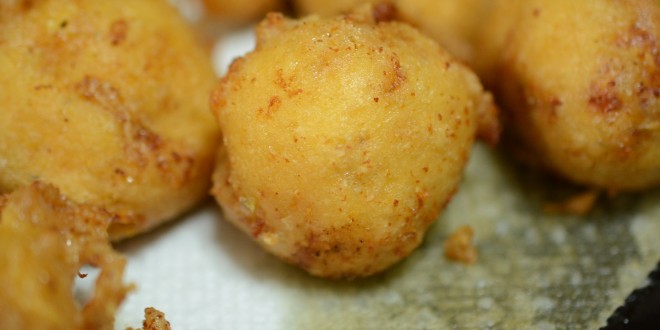


Try mushrooms! They’re really good with a simple batter and then deep fried.
I really love your website and have listed on mine as a blog that I frequently follow.
http://www.nobunplease.com/blogs-follow/
Keep up the good work and keto-ing!
Dominic
Could you try a deep fried celery root cut up like french fries?m I always wanted to deep fry them in lard to see how close they taste like real french fries.
That’s pretty awesome, if you are able to find a decent keto recipe for fish and chips I would get a fryer so fast.
LOVE LOVE LOVE that you did all this research to find your awesome fryer. Can I copy you? *smile* Thought I had to make due with an open top fryer so just have not replaced mine. Oh, and my husband is SO happy I on the fryer bandwagon again, your Man-Fryer senses must be tingling! Thank you for a helpful article!! I am looking forward to seeing how you find a way to make flat bacon in the fryer!!
A note on crispy skin from Julia Child, through me, to you… Pat dry your meats with a towel after you rinse, then dry it again. Dry Skin is Crispy Skin!
Happy Wednesday!
Jodiann
Genius! I want a fryer now. XD
Your almond flour batter gave me an idea: onion rings. That’s something I have missed on Keto.
Oh man, I didn’t even think of that!
For the chicken wings. I don’t know if this has been mentioned yet, but I cook the raw wings in the oven like 3/4 of the way first. Then drain them from their fat, then deep fry til crispy! Put some franks red hot, butter, and chopped fresh garlic on the stove and bring it to a boil for the sauce. Yum.
Cute cat.
I’d really love to see a more definitive recipe for those re-invented jalapeno poppers. I’m sure I could wing the quantities, but I’d really like to know like how much of each cheese, etc. They look amazing. I’m gonna have to break out the deep fryer!
Hey! I just bought my deep fryer(I haven’t taken it out of the box yet!) and am also very new to keto. How long would you recommend cooking most of these items for? Did you just check on it periodically until it looks thoroughly cooked?
Thanks!
Allegra
I was shocked to see a cat while scrolling. I was glad it was a pet and not deep fried… ! 🙂
New to keto and feeling its really great. Good article on Deep Frying for Keto…
Crushed pork rinds. They make a beautiful breadcrumb replacement. We mix in a little almond flower and seasonings and they’re ready go do. I’m excited to try your batter style breading for onion rings or tempura.
Hi. I use eggs and parmesan cheese for batter. Just buy the parmesan cheese in the green canister (like Kraft). It has worked fine for me.
I love you and this post ! Everything looks delicious !
Can you leave the lard in the fryer a few days like they do at restaurant deep fryers? Or do you empty your fryer every time?
I generally plan a couple days in a row of frying so I can get the most out of getting everything set up. So yes I leave the lard in there until I filter it and store it again. If it is really cold out, it solidifies but turning the fryer back on warms it back up.
If I have the other kind of fryer, would it be safe to melt lard in microwave and then use in the fryer?
What I would do is keep the lard in glass mason jars and just put them in some boiling water with the lid off. Then it will melt the lard and you can pour it in. Just make sure you take it out while its still liquid or else it will solidify in there.
The more I write this, I’m not sure its a great idea to use lard with the other style. I would just use peanut oil.
Idea for flat bacon – scour thrift shops for a smaller fryer basket or a round grate that would fit inside yours. Put the bacon down in the big basket, then press down the smaller one on top. If needed, have some easy clamps around to clamp it down.
Did a day of research to figure out what fryer to buy. Your article was the most helpful given I too want to use lard, tallow, or coconut oil to minimize free radicals at high temperatures. Does the Delonghi have a function to extract to the lard via the cleaning tube before it hardens at room temperature? In other words can I extract the used lard when it is warm and still liquid but not too hot? Thanks!
Steam your wings first. Then, place them on a wire rack, and pop them in the fridge to cool down. THEN, fry/bake them off. Crispest skin ever!!
Any reason you can’t just leave the solid fat in there until next time/time to change it? That’s what people did when I was growing up..
I just found this post today. My husband bought me a deep fryer for Christmas and I’ve been searching for low-carb ideas that will allow me to use the fryer.
I’m going to use your poppers idea but modify it. I absolutely love deep-fried stuffed olives. But, why stuff olives if the small tidbits are eaten in one bite? I’ll chop black olives, pickled jalapeno and cheddar cheese for the middle and make an almond breading for it.
As for the chicken wings. Check out Serious Eats double-fried confit chicken wings. The combo oven/deep-fryer makes super-crispy unbreaded wings.
Jesus Chris, did you deep fry a cat? I didn’t read it, I just scanned it.