Tired of the same old bland turkey? Wish you could cook it faster? Wondering what your going to do now that you’re eating keto and there is no stuffing? Fear not fellow ketoers, fried turkey to the rescue!! This will be the first of three parts for frying a turkey. This section will cover the preparation of the turkey. The second will go over the brining of the turkey and finally the seasoning / injecting and frying! Don’t forget to make some keto friendly sides like Cheesy Green Bean Casserole to go with your turkey!
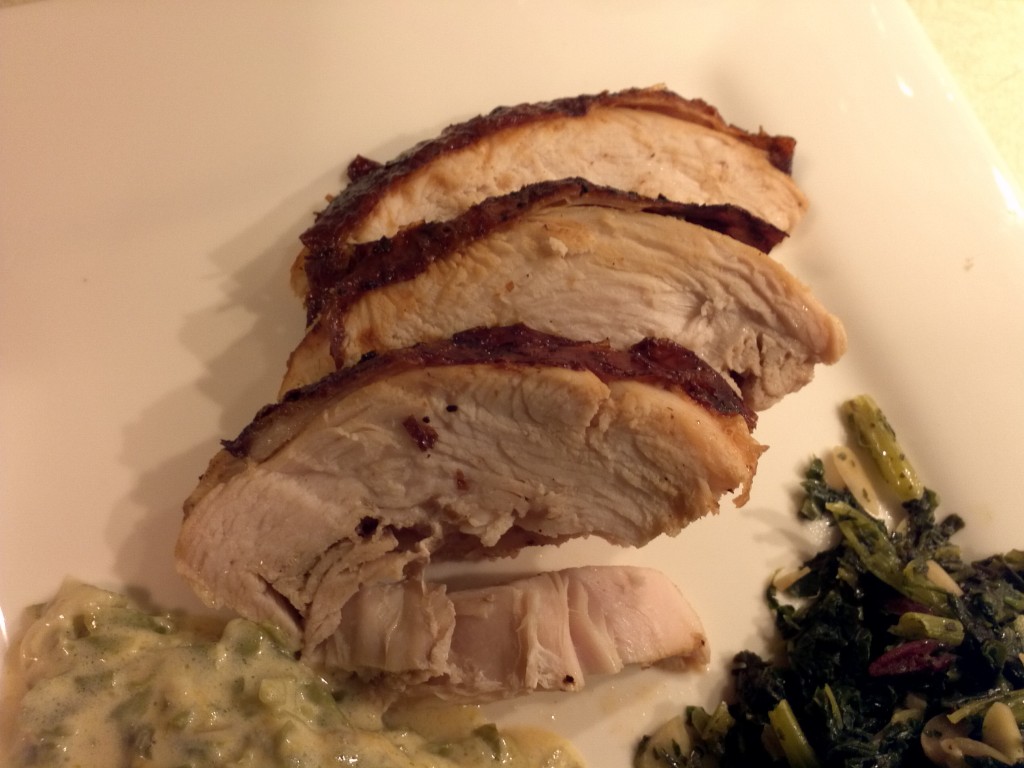 Follow this guide and make the best, most moist turkey of your life!
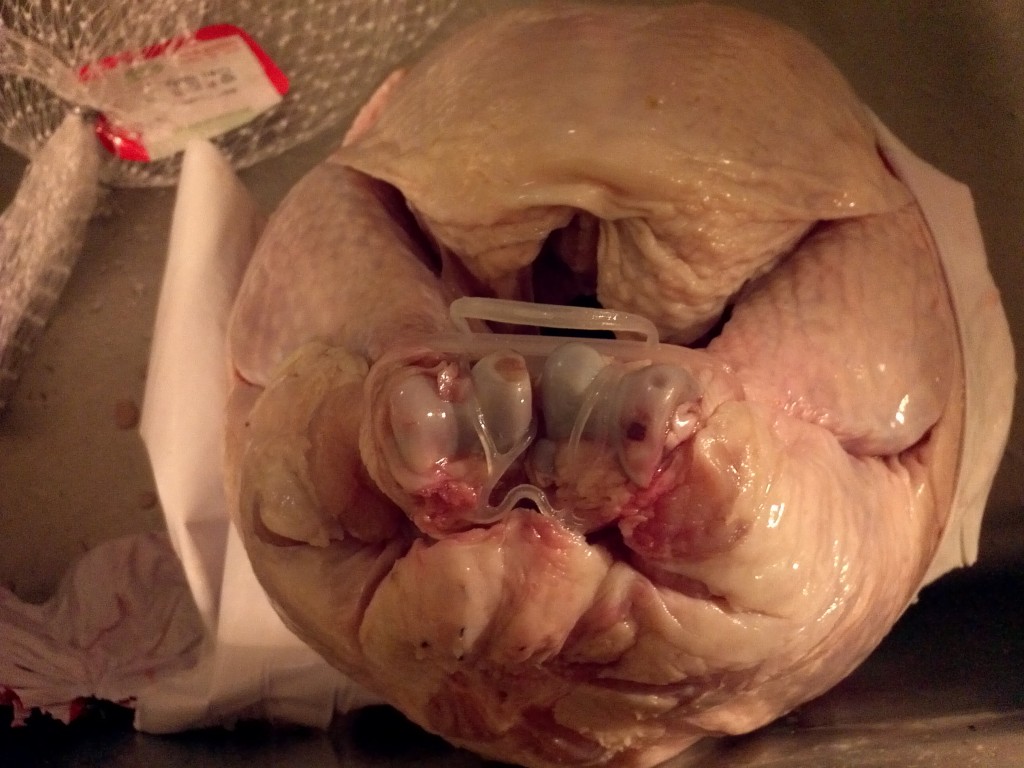 Start with a regular turkey. Actually, start three days ago and go to the store and buy a 10-15 lb turkey. Then set it in your fridge and let it thaw completely. This is important for any turkey but even more so since we are going to fry it. The 350 degree oil will contact the ice and make it boil instantly, which will explode hot oil everywhere. Anyway, above is the starting, thawed turkey.
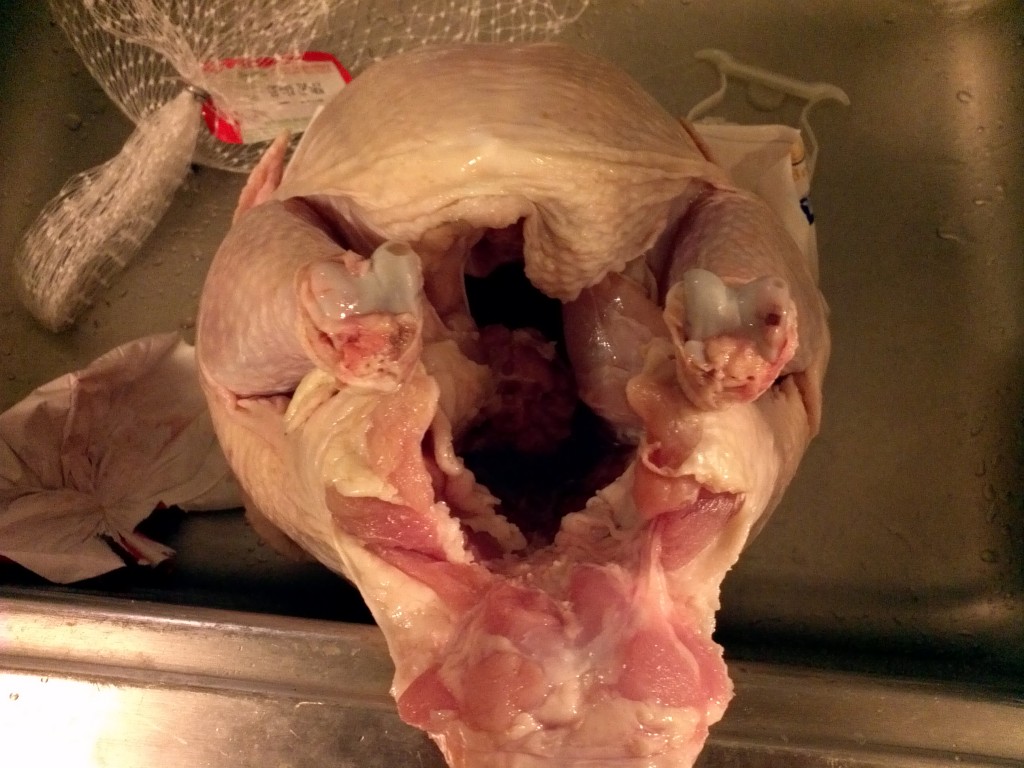 Start by removing the device that holds the legs together. Additionally, there will be one or more bags in the turkey containing the gizzards, neck, etc. Take these out as well.
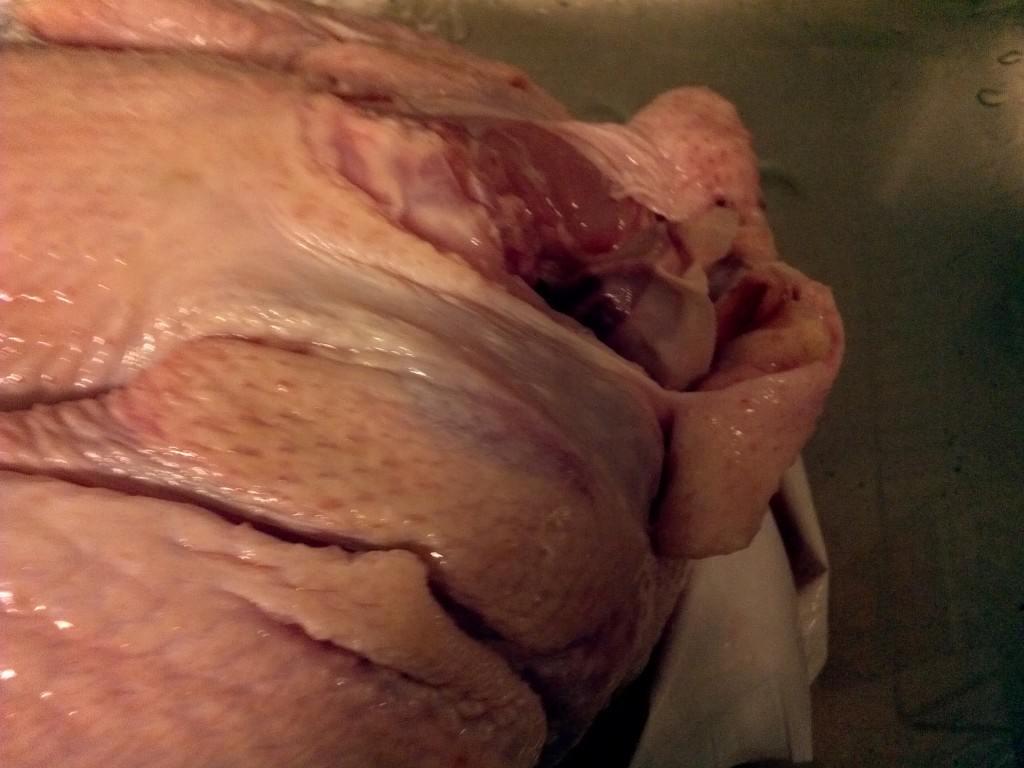 This isn’t a great picture, but you can see that they’ve stuffed a bag in the back of the turkey, remove this as well. This part is most likely the liver and the heart. These extras can be used to create a gravy since we will not have pan drippings from our fried turkey.
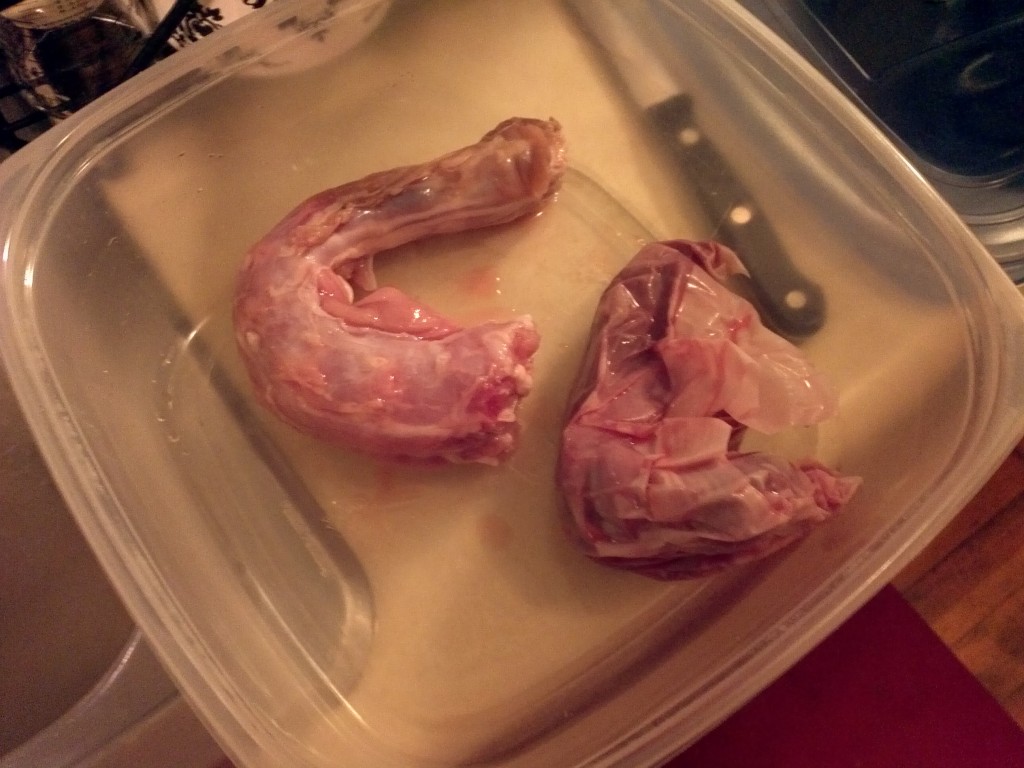 Since this is a step by step, picture guide, make sure these “extras” have been removed from your turkey before moving forward!
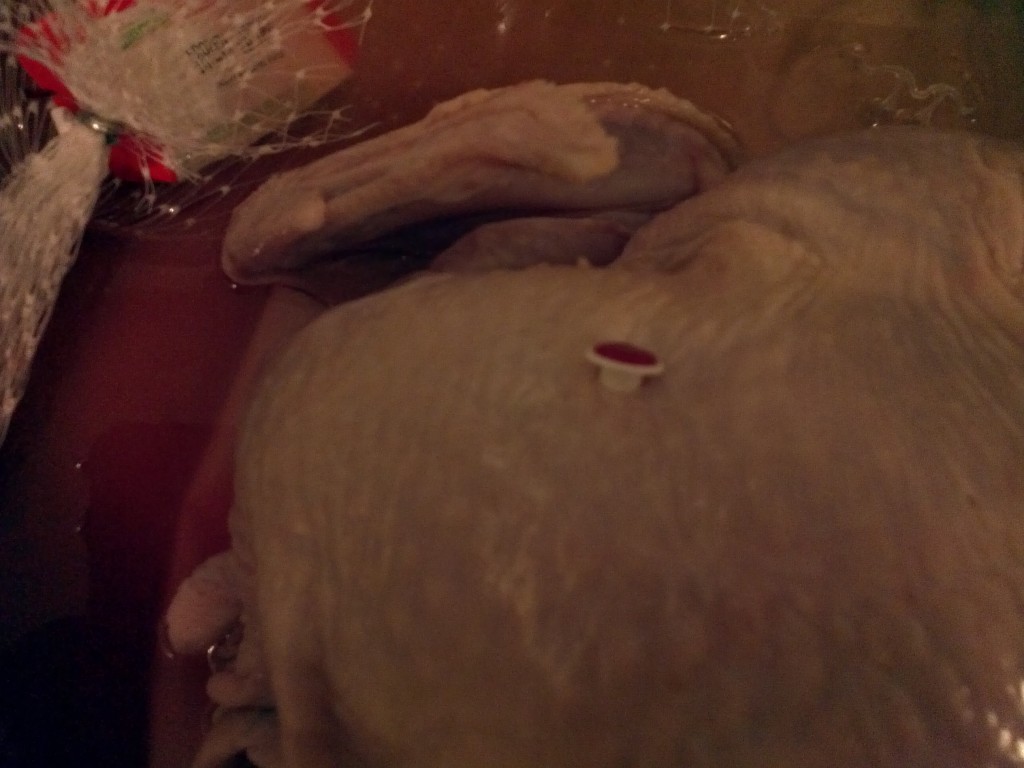 Most modern turkeys are also bred with these plastic pop up timers. Of course, this needs to be removed as well. They are also horribly inaccurate so even if you were going to cook the turkey in the oven, use a real thermometer, trust me, you’ll thank me later.
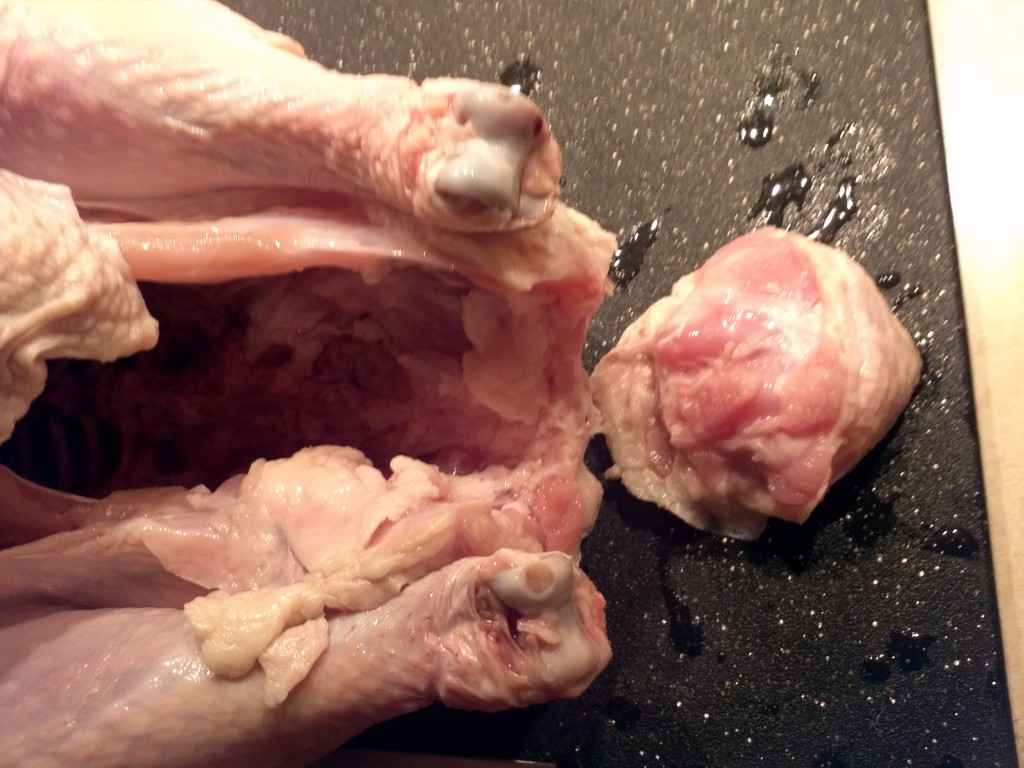 Now that we’ve removed all the artificial stuff, its time to clean up the turkey. We want to get rid of the loose skin and parts. The first step is to cut off this front neck section. Its not really meat and it will just get in the way when we fry.
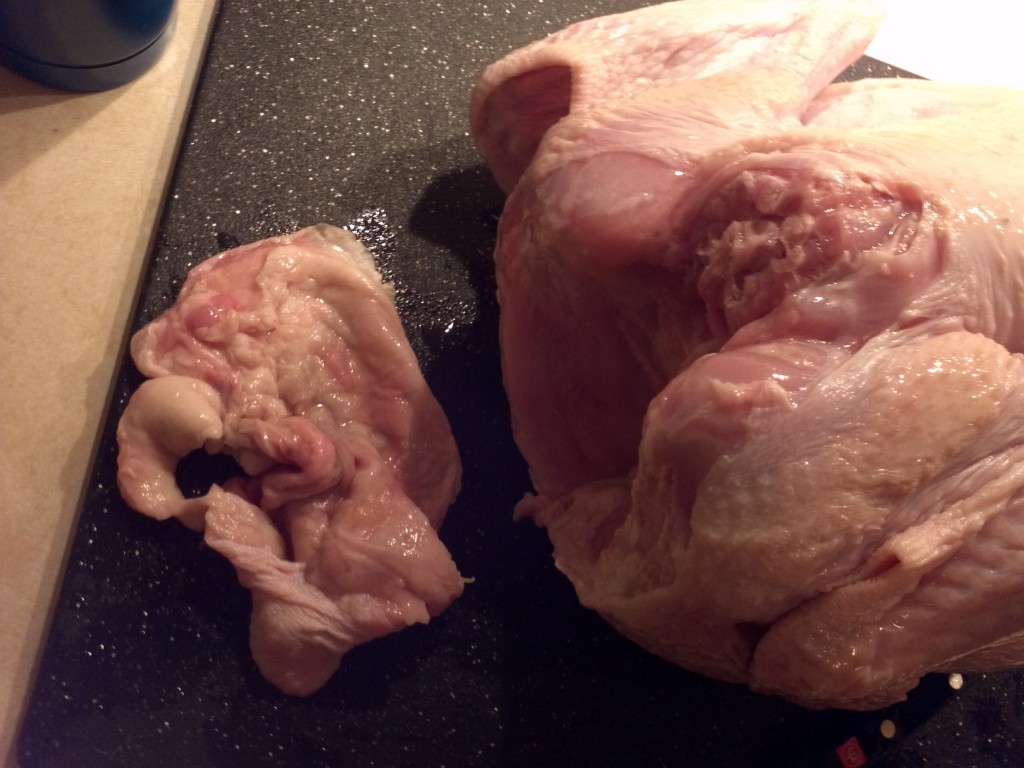 Also cut off the excess material at the rear end.
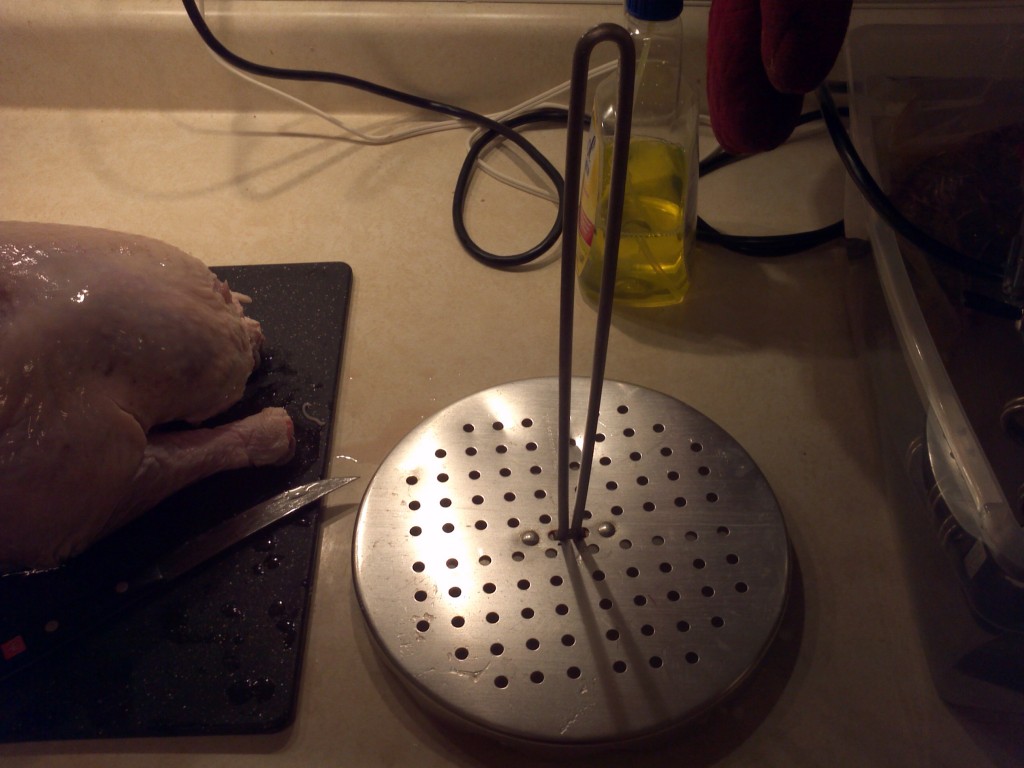 The next step is to measure the amount of oil we will need later to fry. This is important for figuring out how much oil to use and it can be dangerous to put too much. Above is the turkey holder from the turkey fryer kit.
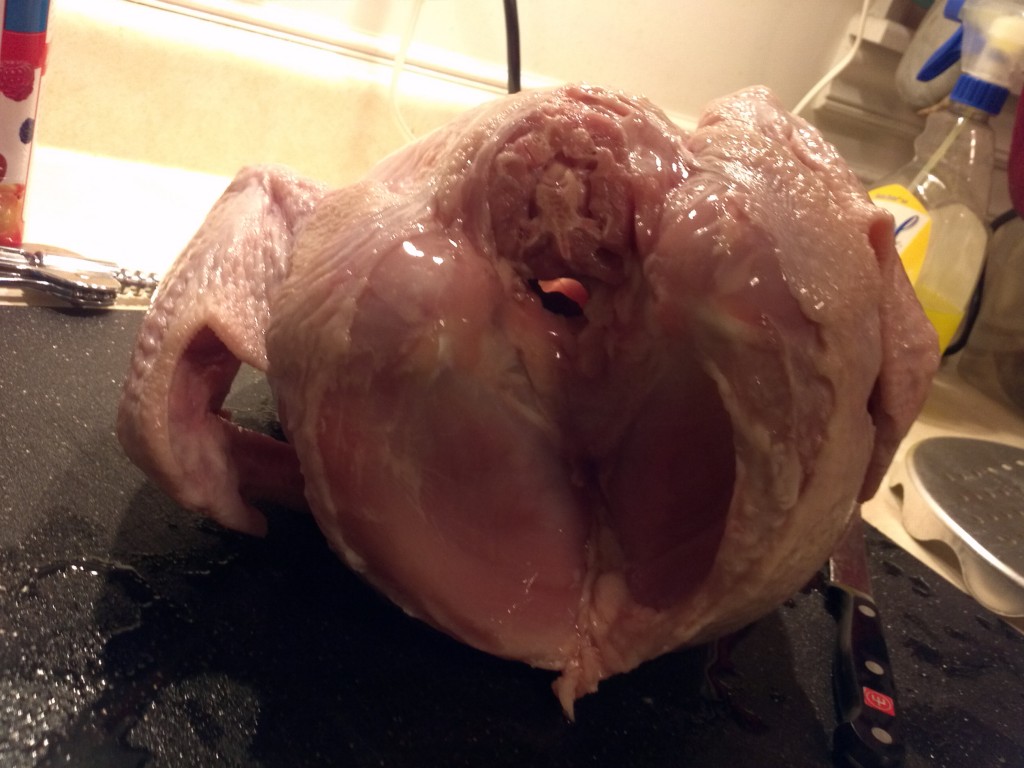 Just so we’re crystal clear, the hole in the middle of the picture is where the holder goes. This is the bottom of the turkey.
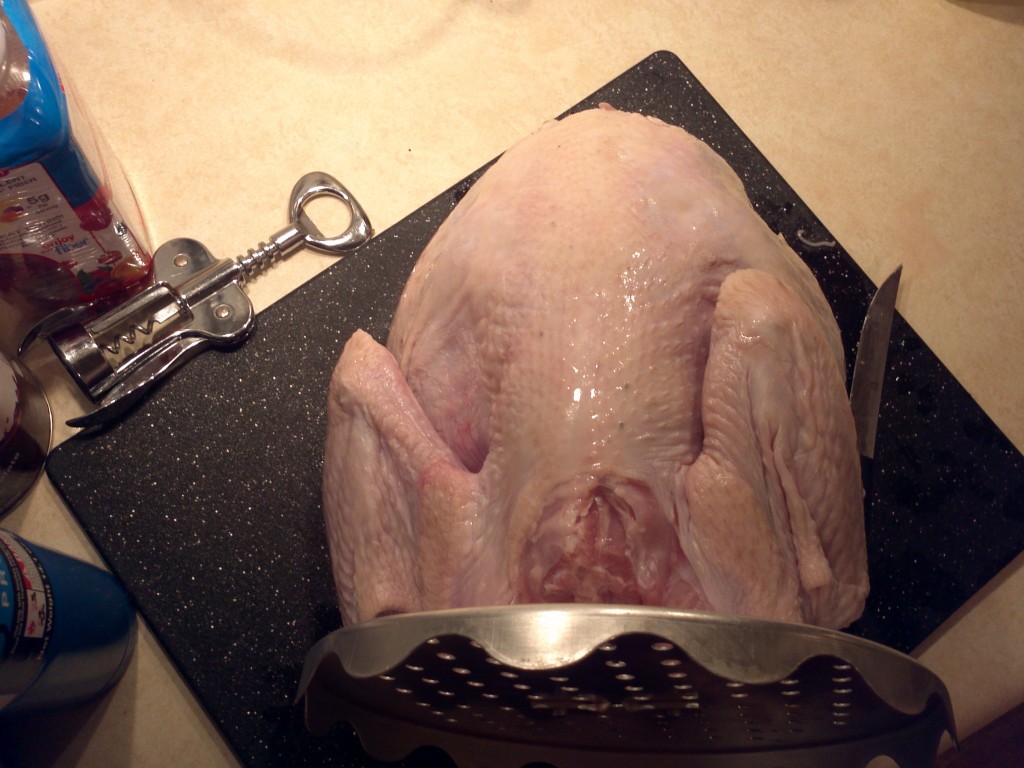 Here is the turkey on the rack.
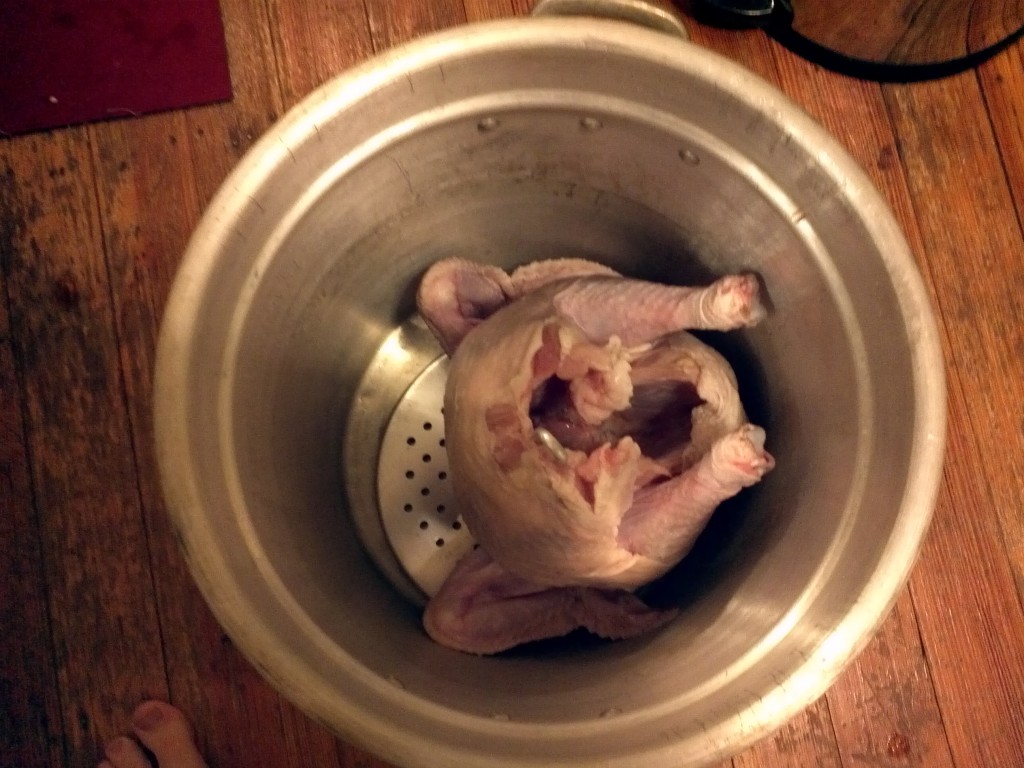 Put the turkey in the pot. This is a 13.5 lb turkey, you could probably push a 15, maybe 18 lb turkey, but its really more oil than should be in this pot. In reality, I think its better to have a smaller turkey or else the outsides will get too charred in order to get the insides done.
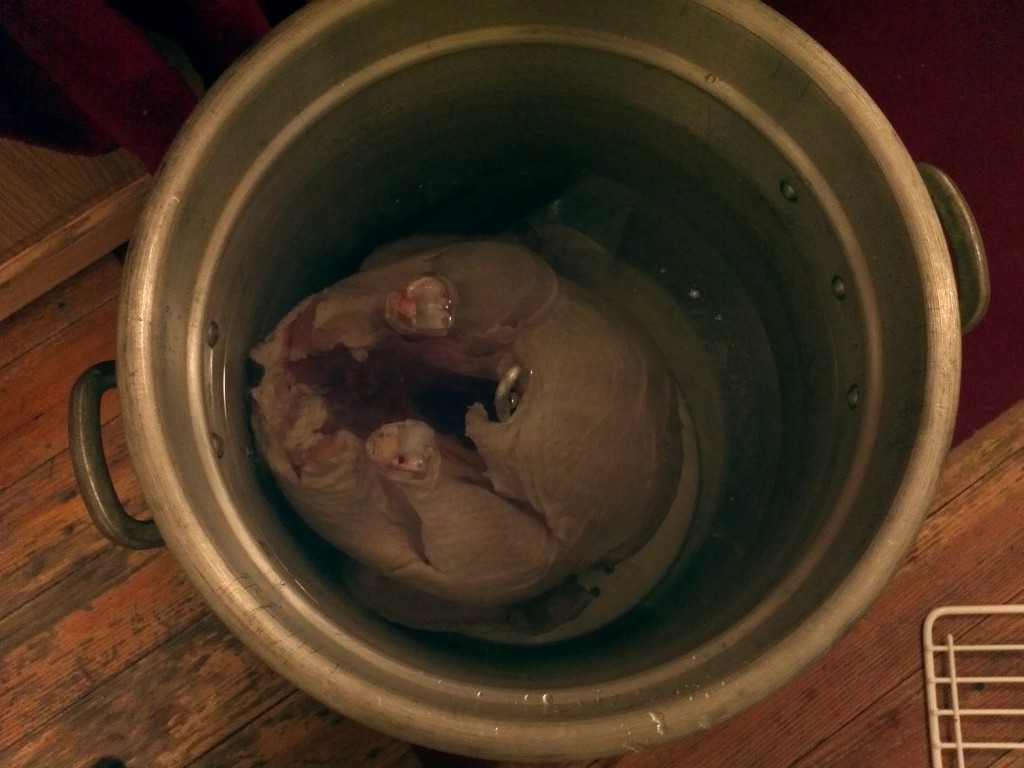 Fill the pot until the tops of the legs are covered. Make sure you do this with the turkey sans wrapping and insides, and on the holder, or else the measurement won’t be correct.
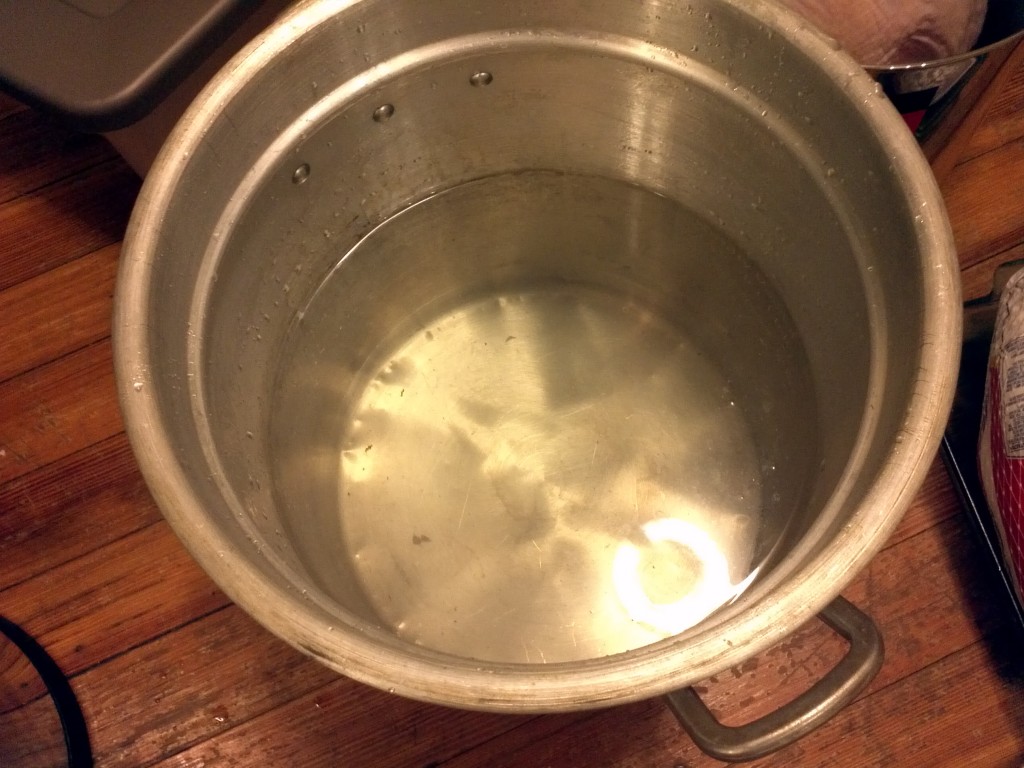 Now remove the turkey and mark the required height of the water. You can use a marker, scratch the metal, tape, etc. Once you figure out the general level required, you don’t really have to do this every time but I would recommend it the first time. This concludes the first part of this guide, the preparation of the turkey. Stay tuned for the second part that goes over how to brine it for added moisture and taste and the final guide on how to actually season and fry it!
 Caveman Keto Weight loss through low carb cooking



Great 3-part series, thanks. What do you think of oil-less infrared turkey fryers as an alternative?
I haven’t tried one myself, but I imagine its a good compromise between using an oven and the turkey fryer. Its probably a lot less messy than frying with oil 🙂