Cooking a turkey can be a frustrating experience. How long to cook it? Will it turn out dry? How will I make keto friendly stuffing? Never fear, Caveman Keto is here! Since bread based stuffings are generally frowned upon, why not forgo the oven all together and fry your turkey? This post is the third and final of my turkey frying guide. The first post covered how to prep the turkey, the second post went over brining the turkey for flavor and moisture and this final post will go over the seasoning, injecting and frying of the turkey.
NOTE: Frying a turkey can be very dangerous. Please be prepared and use caution.
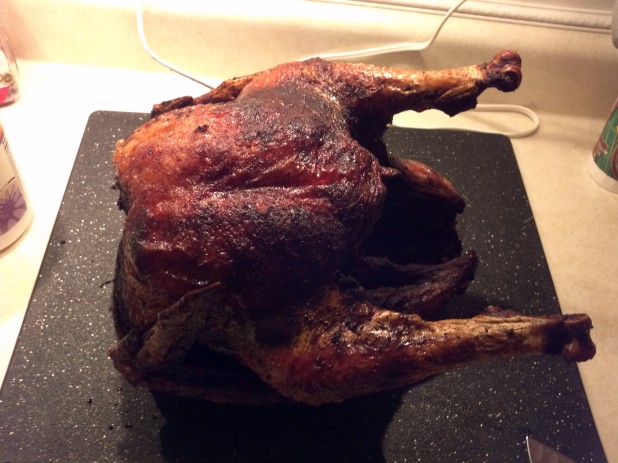 Here is the finished beast! It was incredibly delicious, so much so that this is actually the second turkey I’ve fried in two days! I did the first one for our annual Friendsgiving party and I did a second one since I had all of the stuff already out.
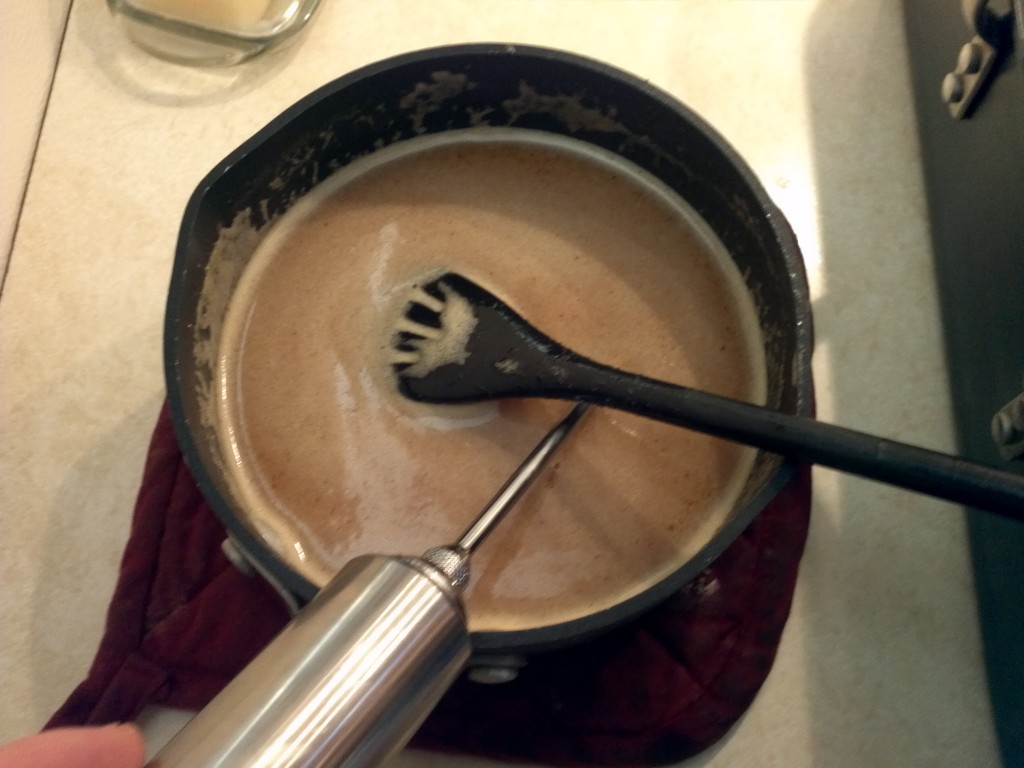
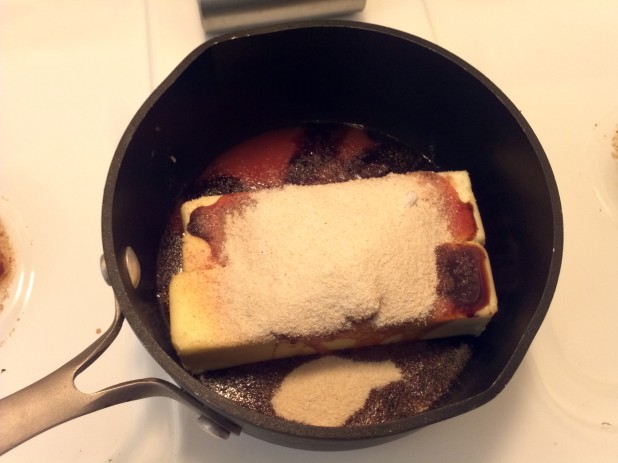 The first step in the turkey frying process is to prepare the marinade. The one I like the best is a mixture of melted butter, spices and some beer. Above you start with the butter and spices and slowly melt over the stove.
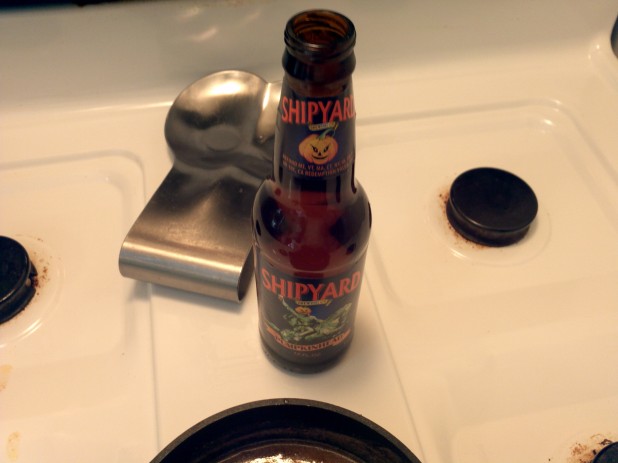 For this marinade I used Shipyard Pumpkin since it is the Thanksgiving season. Even though beer is generally a no-no on keto, half a bottle in the marinade will not go that far throughout the turkey. It can be left out if you don’t want to use it.
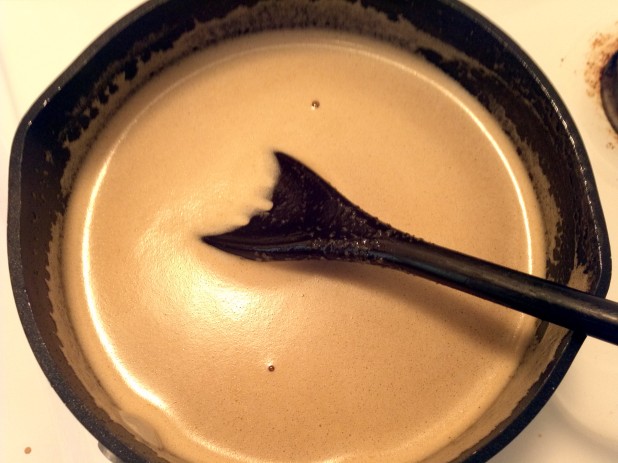 Here is the finished marinade. I normally make it a little before hand and then just reheat it right before I inject. If you don’t want to make your own, I still recommend you inject with store bought marinade. I don’t think it is too hard to make it yourself but this is another good option if you are short on time.
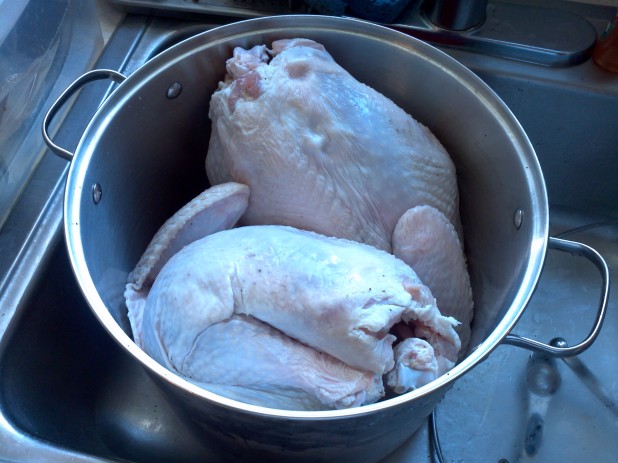 In the last post, we brined the turkey. Here are the two turkey’s with the water drained. At this point, it is very important that you thoroughly rinse the turkey off. The brining is meant to soak and absorb into the meat but you do not want the salt sticking to the outside of the bird. Make sure to rinse it in cool water and pat it dry. The dry part is very important since near boiling oil will react violently with water.
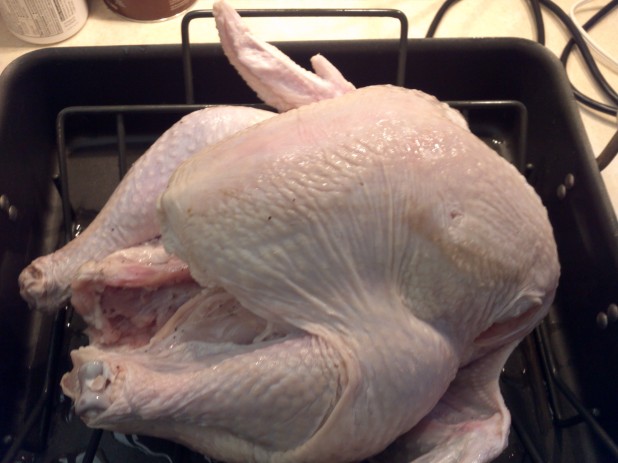 The next step is to place your dry turkey on a decent working surface. I like to put mine on my roasting pan so that any excess marinade, spice rub, or water falls under the bird.
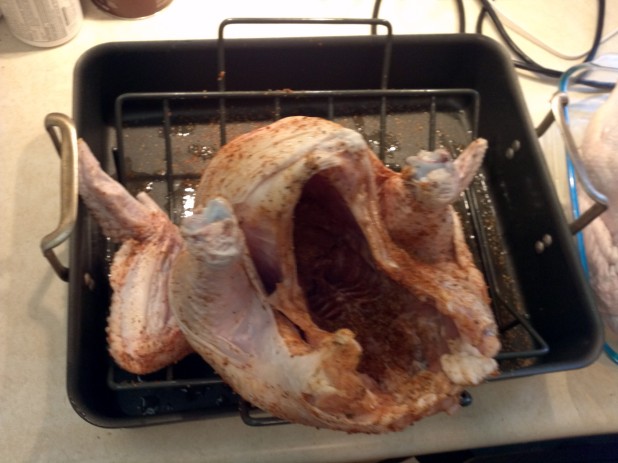 At this point, you need to rub your turkey down inside and out with a dry rub. I used Badia Rotisserie Chicken Seasoning but anything will do. Make sure to get all the nooks and crannies of the turkey including under any loose skin and inside the front and back. It can be helpful to hold the turkey with one hand while sprinkling the bird with the other. Again, a large workspace is a must in this situation.
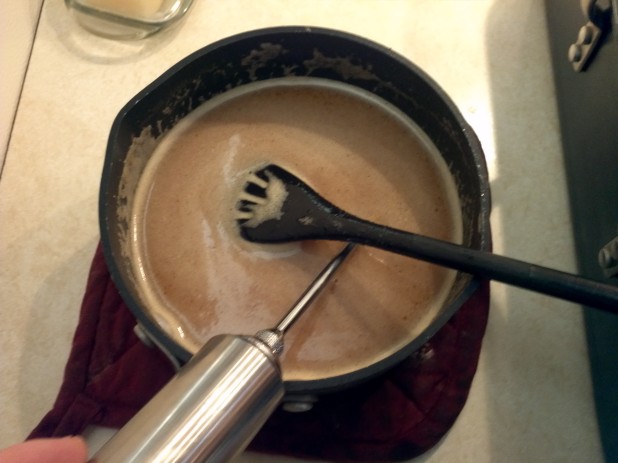 Now we are ready for the fun part, injecting the marinade! If you don’t already have an injector, make sure to get a stainless steel injector. The plastic ones do not work well other than for really thin, non spiced marinades. The steel ones will never break and they come apart for easy cleaning. The tip on this thing can push out larger particles like garlic and has no problems with stuff like coarse pepper. The small plastic ones that come in kits get jammed and you just end up being frustrated. Also, who doesn’t love injecting meats?
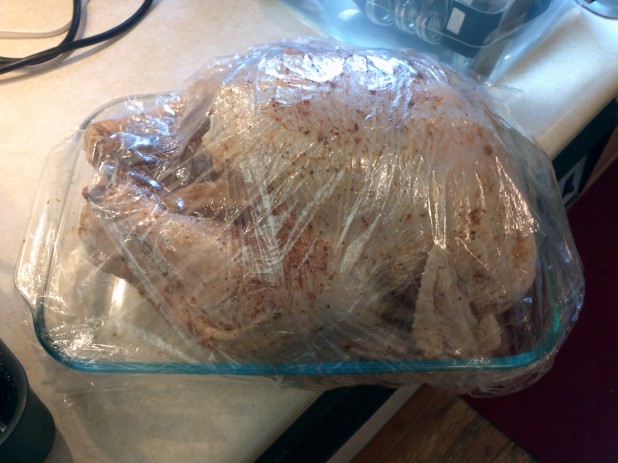 I didn’t get any pictures of the actual injecting, but anywhere there is meat, try and get some juice in it. Picture a doctor giving liposuction except you are injecting fat. Put the needle in one hole while moving it in position within that one injection point while depressing the nozzle and injecting fat. The less holes, the less chance the marinade will drip out. Cover the turkey and put it back in the fridge for 2-4 hours to give the marinade a chance to spread out and get absorbed into the turkey.
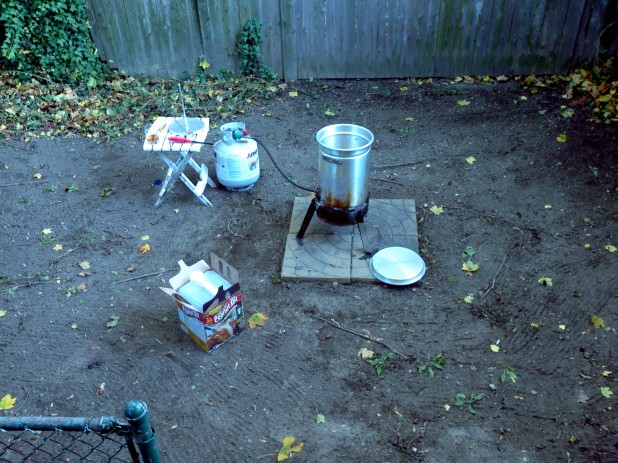 Now onto the important stuff, the frying setup. Ideally you want an area with nothing growing in a 10 foot radius around the fryer. In a way I am lucky that my landlord has no interest in lawn maintenance and our backyard is just dirt. Popular ideas are your driveway or a similar setup where you setup pavers and put the fryer on that. The important ingredients are:
- A turkey fryer kit (pot, fryer, oil temperature gauge, fryer hook, turkey holder)
- A propane tank with enough fuel to run for an hour
- A fire extinguisher
- Peanut Oil – 3+ gallons
- A table to hold the turkey and various other elements
- Apron
- Gloves
- Long lighter
Make sure that the frying is on level ground and that you have room to work. The grease will splatter and you want it to be safe.
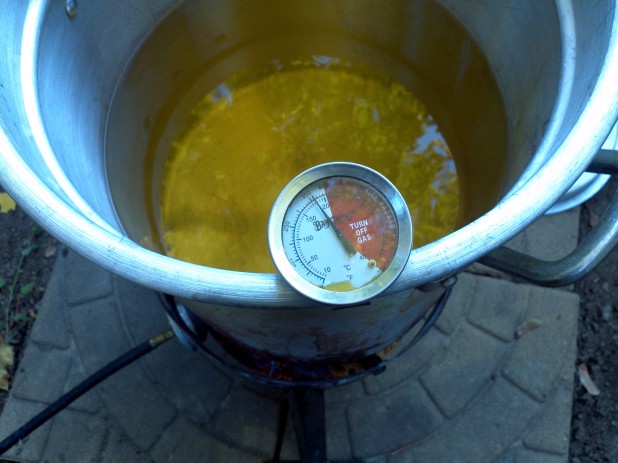 Heat the oil to 350 degrees as shown on your oil thermometer. This is very important as when the oil is heated over 400 it will get near its smoke point and is very dangerous. Its a little bit of a game to get the oil at 350. Personally I put the thing at full blast until about 325 and then turn it way down so I don’t overshoot it too much. Note: As soon as you turn on the flame, you should not leave the fryer unattended until you finish the turkey.
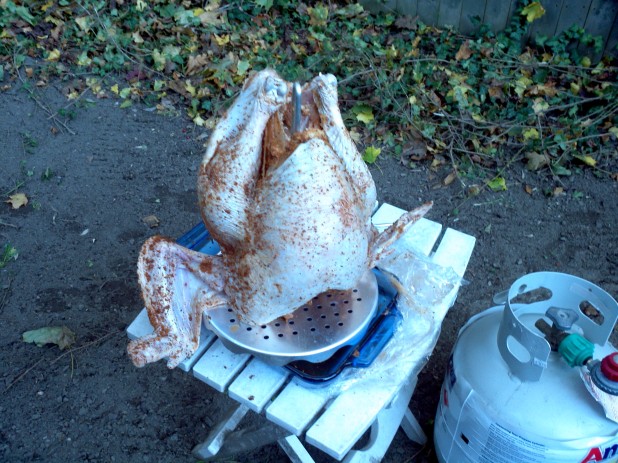 Now is a good time to put the turkey on the turkey holder. Shown above is the proper orientation. Don’t worry about the wings, they’ll fold in.
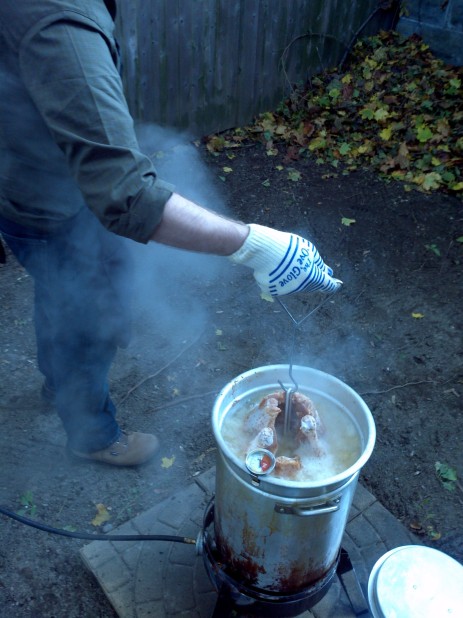 Now for the big moment, the turkey meets its final end! Here are the steps:
- TURN OFF THE FLAME, the oil might flow over the side and you don’t want it to catch you or anything else on fire. Also, why add heat at this point?
- Don the proper attire. I forgot to wear my apron but you can see I am wearing my ove gloves along with some Red Wing Steel Toed Boots and long pants. You don’t want any of this stuff to touch you.
- Hook the turkey holder with the turkey hook and begin the process of lowering the turkey into the hot oil. You want to do this VERY SLOWLY. Also, you want to sort of bob the turkey in the oil. What I mean by this is to lower it a little, it will boil up really bad, then pull it out a little bit, then drop it some more. Basically like 2 steps forward, one step back.
- There might be pockets of water / marinade as you lower the turkey. This is the main reason for going so slow, so you can abort the process without much fanfare.
- Once the turkey is all the way in, relight the heat and get it back up to 350 degrees.
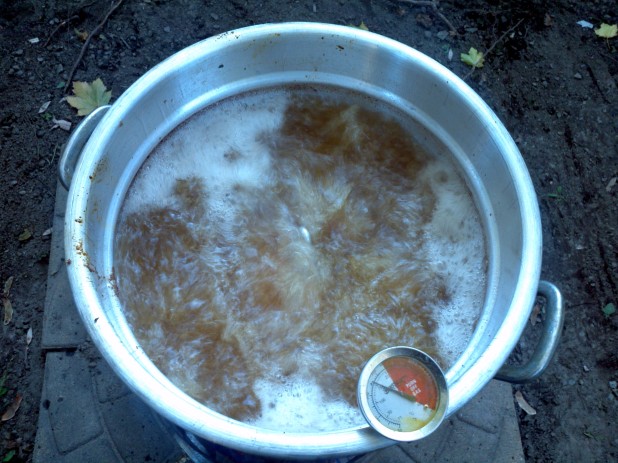 Here is the turkey mid fry. At this point, you can really see two things. One, you really don’t want too much bigger than a 15 lb turkey and two you want to know how much oil you need ahead of time. There is not too much room for play on the oil. In terms of cooking time, you should cook it for 3 minutes per pound plus 5 minutes. So for this 13.5 lb turkey it should be around 45 minutes. In reality, I would hit it with a digital thermometer until the thick portions hit around 170 degrees. For this turkey I ended up cooking it around 40 minutes.
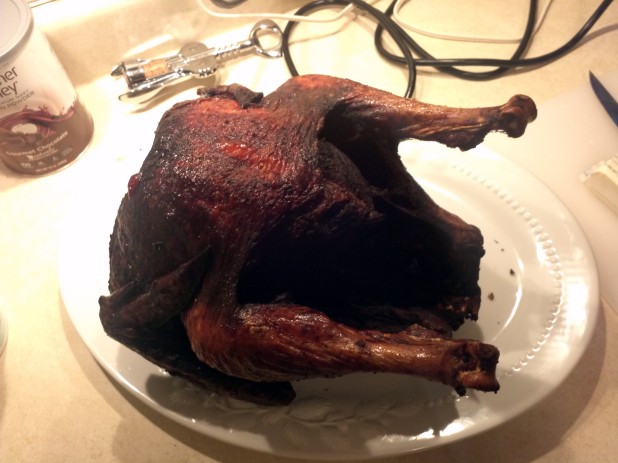 Well folks, that’s it. Here is the finished bird! I can guarantee you it will be the best turkey you’ve ever had and people will be flocking to your house for Thanksgiving!
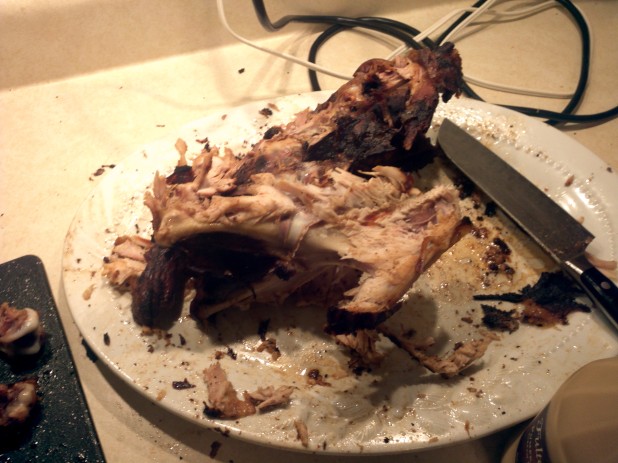 So, my fellow ketards, sharpen your best best Wusthof and get carving!
- 2 Sticks Butter
- 2 T Salt
- 2 T Worcestershire Sauce
- 2 T Frank's Red hot
- 2 T Soy Sauce
- 1 T Garlic Powder
- 1 T Onion Powder
- 6 oz Pumpkin Beer
- Combine all ingredients other than beer and combine over medium heat until melted
- Add beer and stir until combined
- Inject into turkey, it should be warm but not solid when injecting
 Caveman Keto Weight loss through low carb cooking


Could I use the injection even if I intend to oven cook it? Yes, I know how delicious they are fried, but an oven is much simpler. 🙂 But the injection/marinade sounds divine!
Yeah, definitely. I would recommend brining, seasoning and injecting even if you are cooking it in the oven.
Never fry a turkey on a driveway! Nothing like flaiming oil running down the paved surface under your car, into your garage, etc. Much better to do it over grass or dirt.
Fried turkey is worth it!