Ahh, the bacone! Ever since I bought a fryer I knew I would be returning to my favorite bacony treat, the bacone! I made one back in the day after seeing it on TV but I baked it and it never really set as well as it should have. For a while, I thought that making the ideal bacone was out of my reach. However, armed with my fryer and my lard, I set to work on making the Caveman keto Bacone 2.0. This is part of my stunt cooking series. If you haven’t heard of stunt cooking, its basically crazy stuff that’s not necessarily practical but are really fun like a Turducken or bacon explosions. So, happy Fry-day and lets fry some bacon!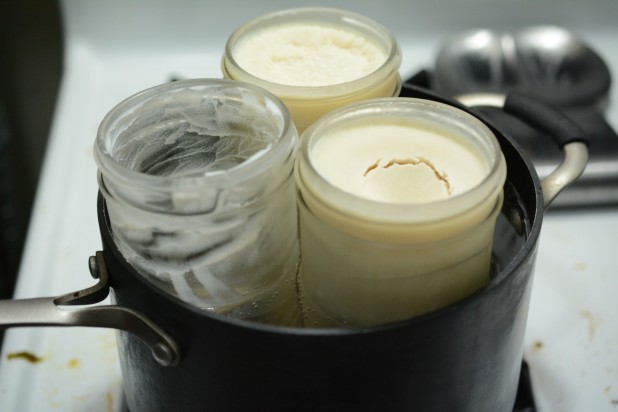 Now, if you’re cooking with lard, its going to be rock hard when you take it out of your fridge or freezer. I store my lard in these wide mouth jars. To get it into the fryer, I put the jars in a pot and heat it over water. Pretty quickly it warms up to the point where you can pour the oil into the fryer.
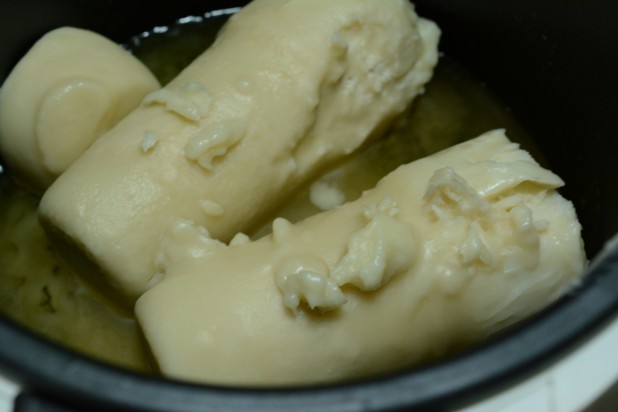 Here’s a picture of the slightly warmed lard heating up in the fryer. As I’ve mentioned before, only use animal fats like lard if your fryer supports them. If your fryer has heating elements at the bottom of the unit, it can be very dangerous to add solid fats like the lard shown above.
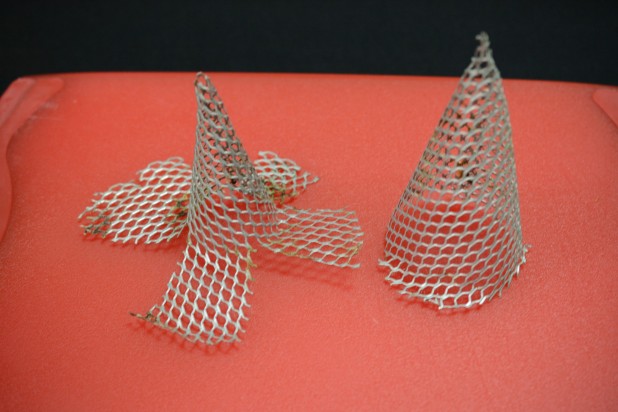 In the original bacone article I showed how to make a mold for the bacone. It basically consists of an inner and outer cone where you wrap the bacon around the inner cone and use the outer cone as a form to keep it all together.
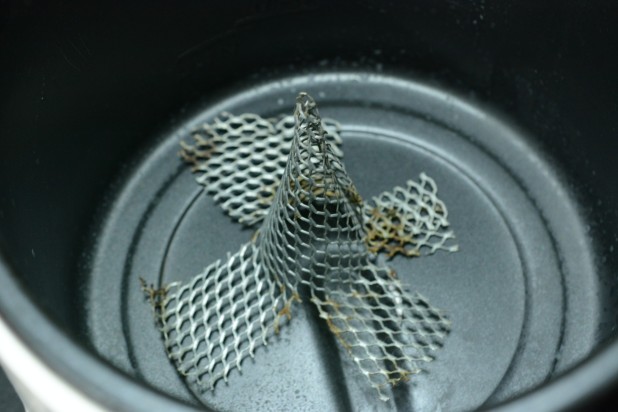 The original mold was designed to sit upright because it was being baked. As you can see this won’t work in the fryer.
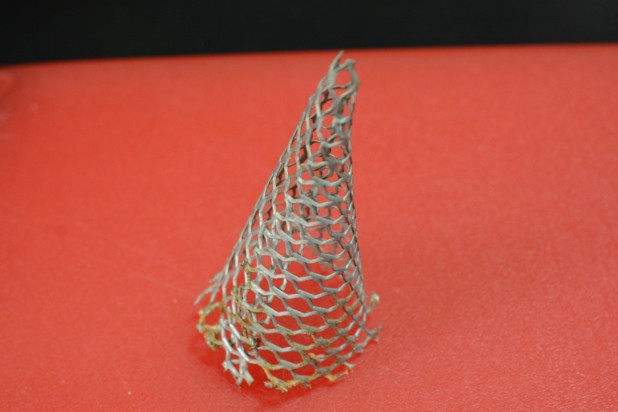 So I chopped the edges off of the cone as shown.
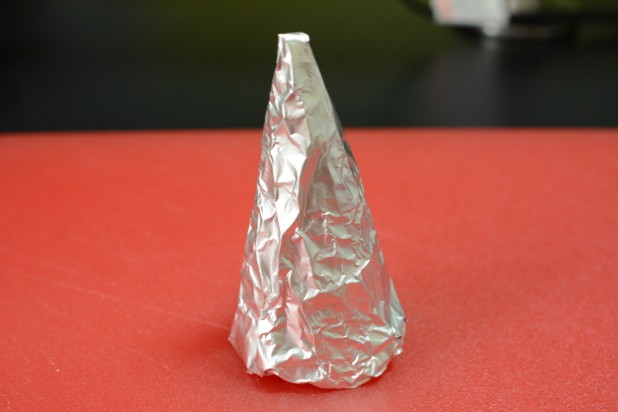 The first step is cover the cone in foil.
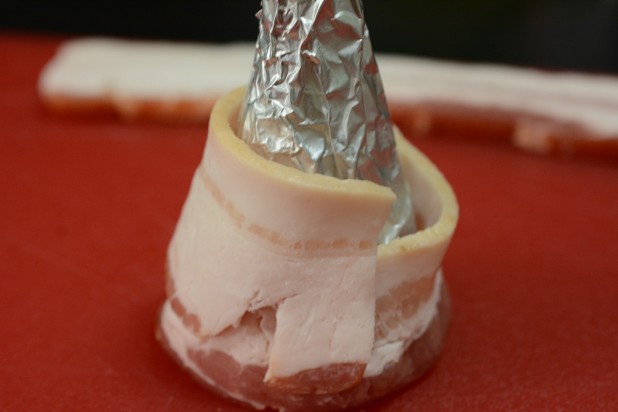 Now for the fun part. First, starting at the bottom, wrap a piece of bacon around the base. Make sure to overlap by at least half. The bacon will shrink a lot and if you skimp, it will have holes in your cone. Additionally, starting on the bottom works a lot better than top down.
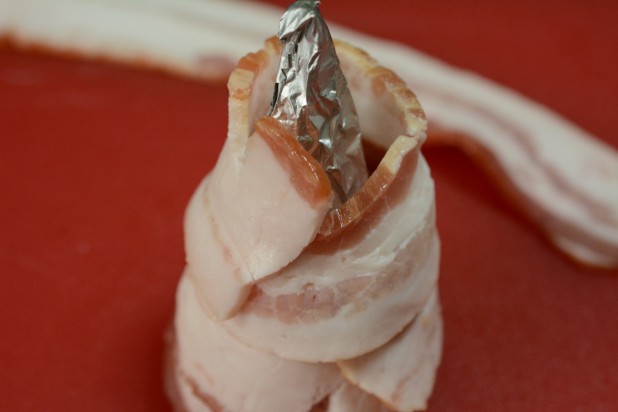 For the second piece, continue wrapping and make sure to overlap by at least half a width.
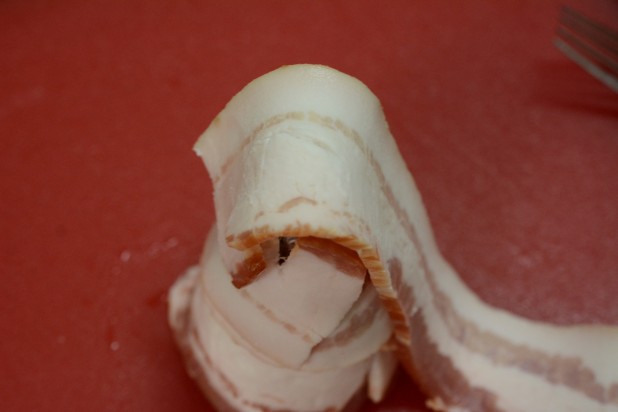 For the third piece, drape an edge over the top to start.
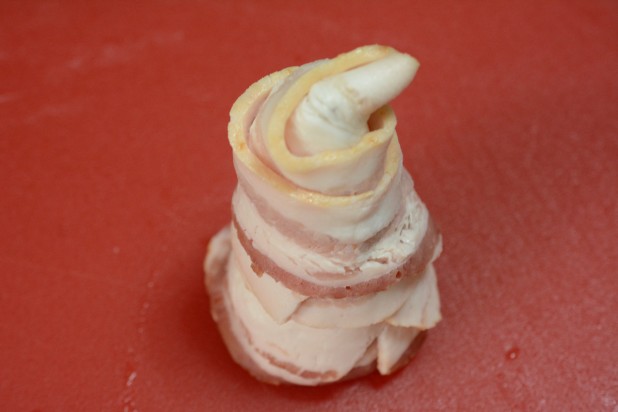 Then wrap the rest of the piece over the draped edge to seal it in.
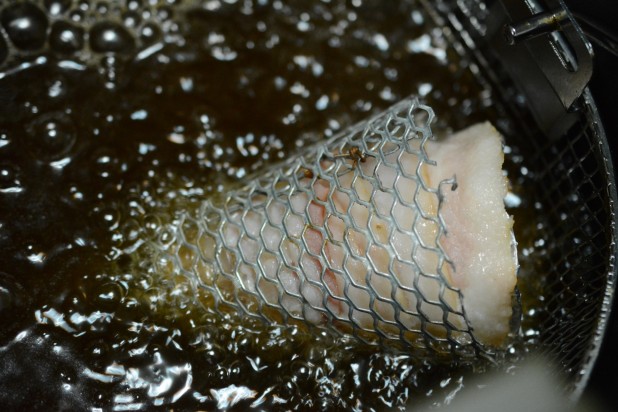 Now add the cover cone over the bacone and throw it in the fryer! It doesn’t fully submerse so I fried it on one side then the other.
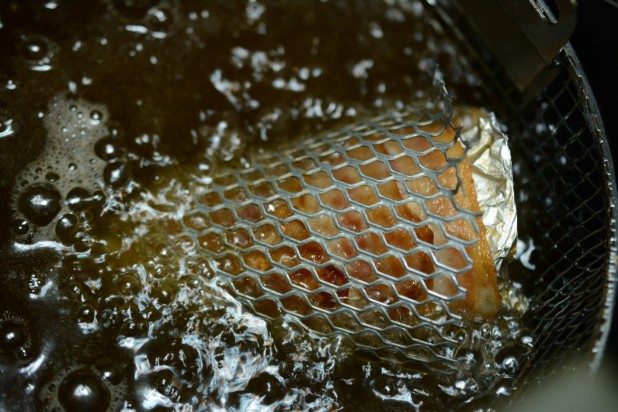 Here’s the bacone after flipping to the other side.
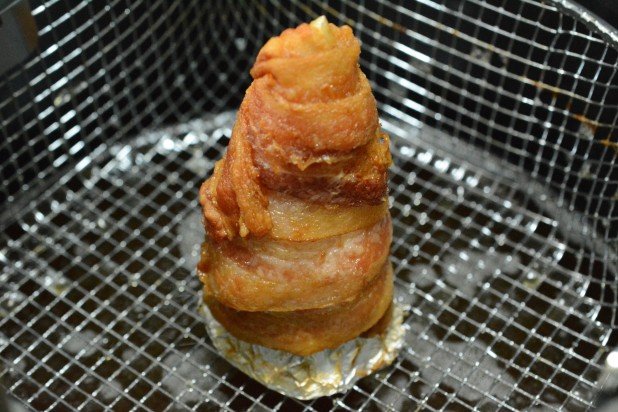 I must say, this sure is a thing of beauty, so perfect and so golden brown!
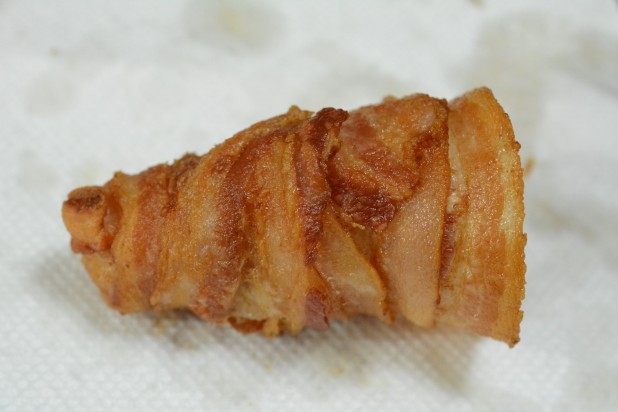 This is the completed bacone. It is much more rigid than my baked version and it only took a few minutes total.
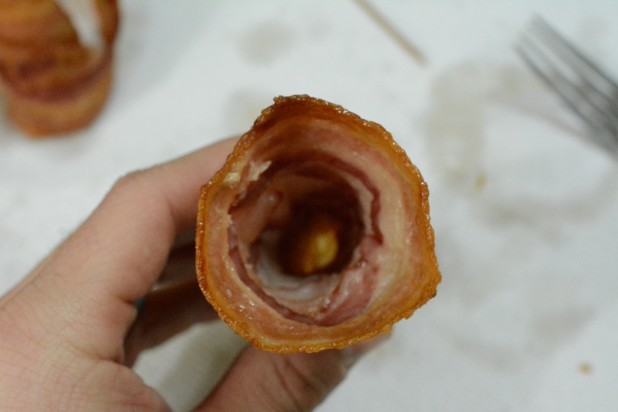 Here’s the inside of the cone.
 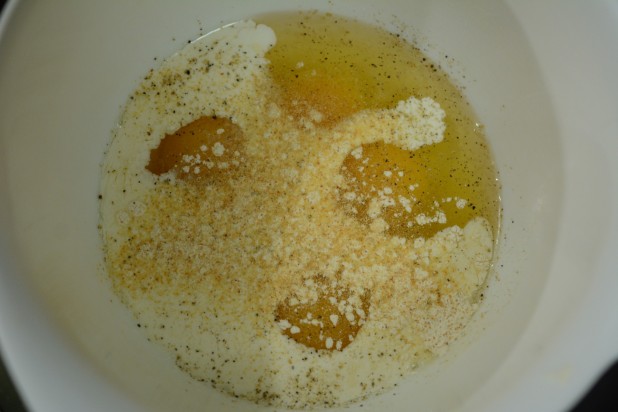 Now for a filling, I just wanted to do a simple scrambled egg for the cone. I just combined some eggs, spice and cream.
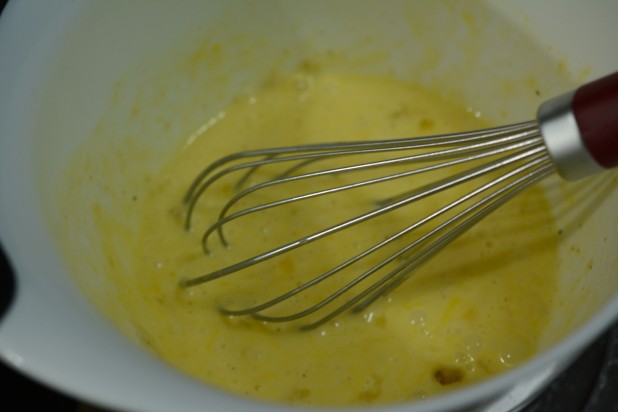 And whip!
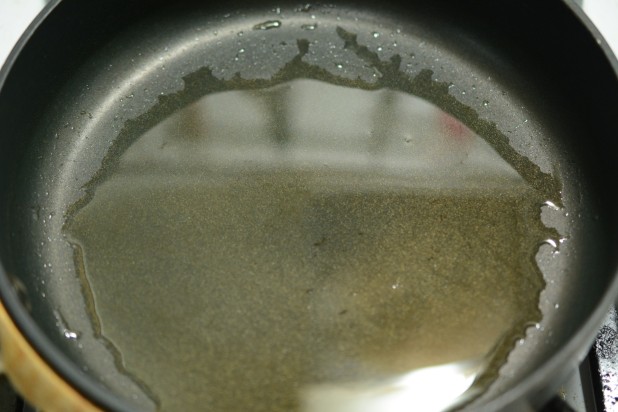 Add some oil to the pan.
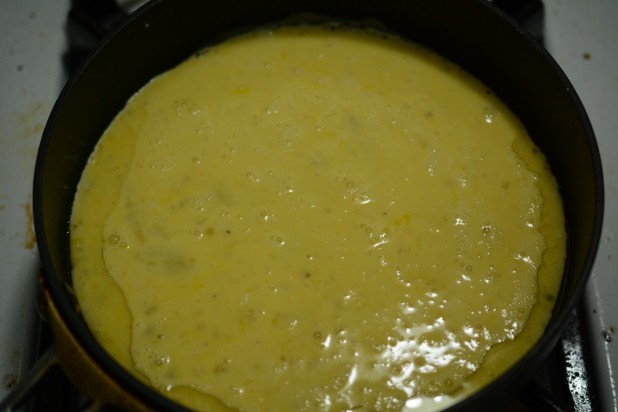 And pour the eggs in.
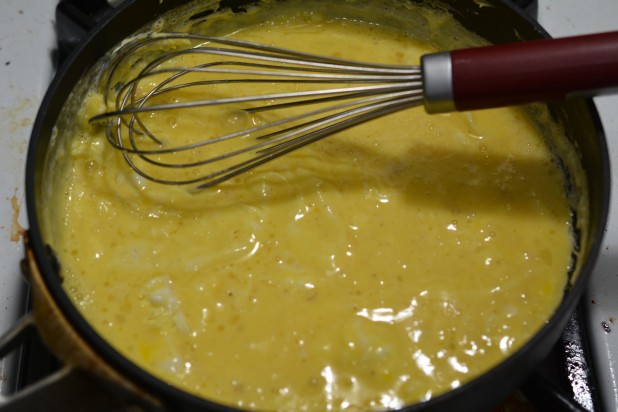 My favorite way to cook scrambled eggs is to whisk them as I go. I let it set a little like shown above then I whisk.
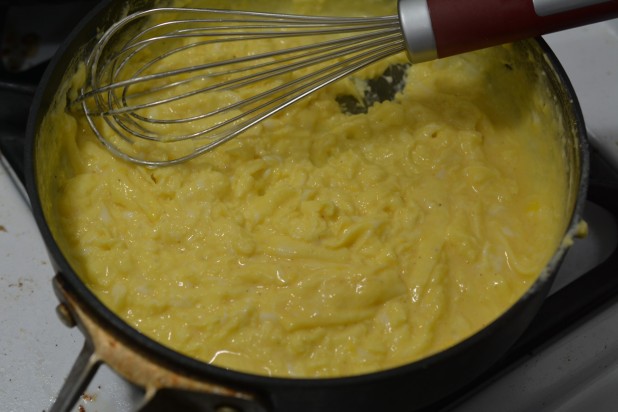 Here’s the eggs at about half way.
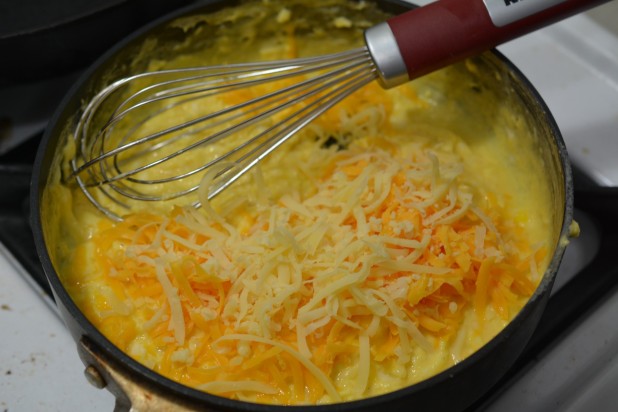 Then when they’re approaching completion, I add cheese!
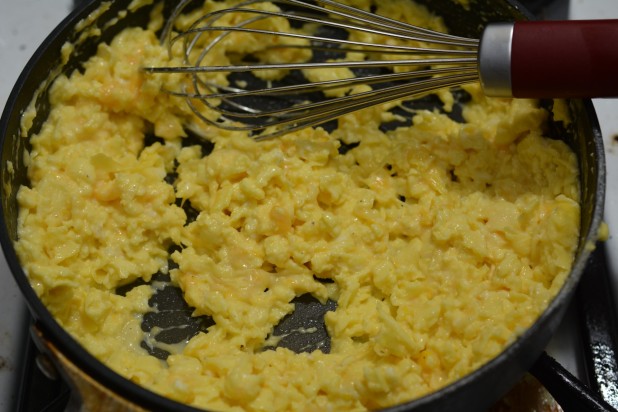 Then I whisk some more for ooey gooey eggs.
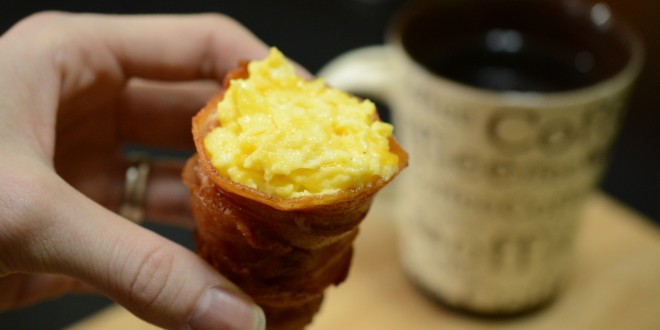
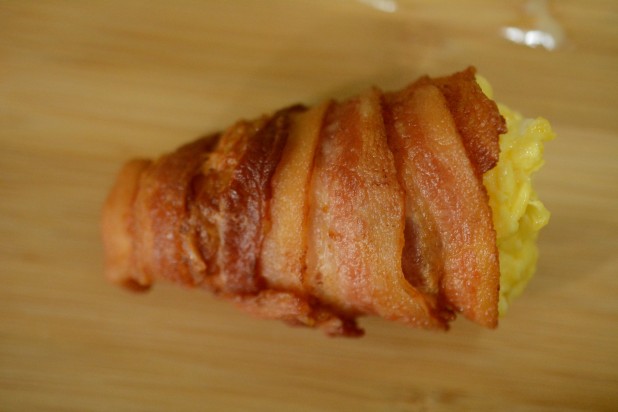 Here’s the completed bacone, stuffed with scrambled eggs! One trick is to use the back of a utensil to push eggs to the bottom. It can have the same problem as an ice cream cone where it can be hard to get ingredients all the way down.
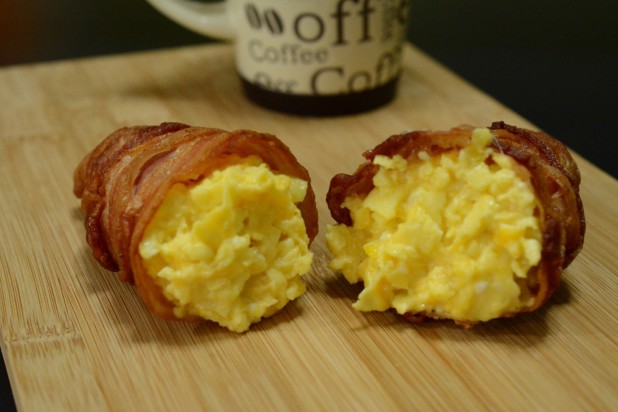 Mmmmm, breakfast!
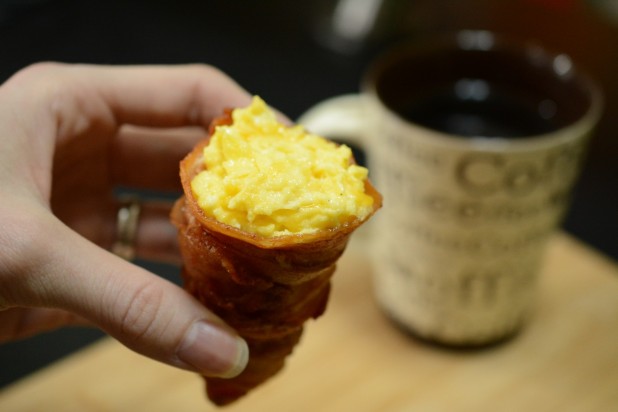 Here’s my lovely wife holding her Bacone before breakfast 🙂
- Serves: 2
- Serving size: 1 Bacone
- Calories: 412
- Fat: 33
- Carbohydrates: 1
- Fiber: 0
- Protein: 23

- 6 Slices Thick Cut Bacon
- 2 Eggs
- 30 mL Heavy Cream
- 2 Oz Shredded Cheese
- Salt, Pepper, Onion Powder, Garlic Powder to taste
- Bacone:
- Heat up the oil in the fryer to 375
- Wrap three pieces of bacon over the mold, starting at the bottom and overlapping by half on each wrap
- Add the overcone over the bacon to secure it in place
- Fry for 6 minutes, flipping after 3 minutes
- If its not golden brown, fry for longer
- Carefully standup the fryer mold and remove the overcone and then remove the bacone
- If the inside is not fully cooked, you can add just the bacone without the mold bacon into the fryer, it should hold its shape
- Eggs:
- Combine Eggs, Cream and Spices and whisk
- Add oil to a pan and heat to medium
- Add eggs and allow to just start to set
- Whisk the eggs and allow to just set again
- Repeat until eggs are mostly cooked, then add cheese and whisk again
- Cook again until desired runnyness has been reached
- Stuff the Bacone with the egg mixture
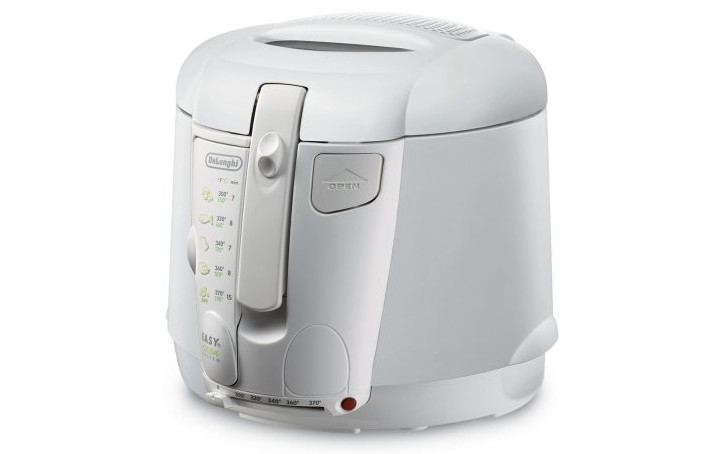 DeLonghi Deep Fryer DeLonghi Deep FryerIf you follow the blog, you know that I’ve gotten a little obsessed lately with my Deep Fryer to the point where I post a weekly Fry-day article. I had one of these in college and it always made me feel guilty using it. I feel so liberated that there are all sorts of keto friendly fried foods like nuggets, wings and brussels sprouts! |
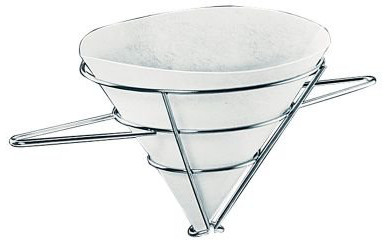 Cone Filters, 50 Pack Cone Filters, 50 PackTo keep your frying oil clean, you really need to filter it on a regular basis. Fryers will come with one or two filters in the kit but they run out fast. This 50 pack will keep you going for well over a year |
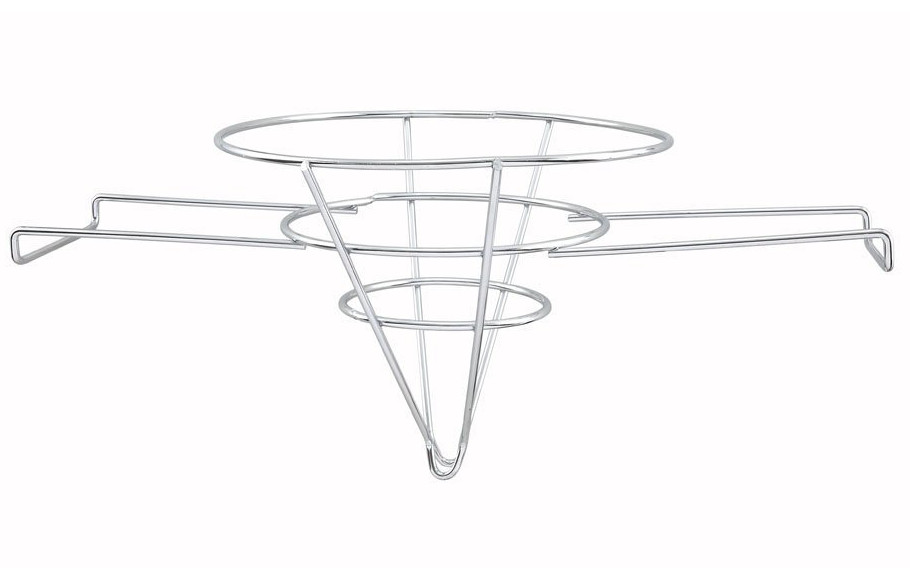 Filter Stand Filter StandUse this stand in conjunction with standard cone filters to easily filter your oil. This system is in place of the filtering method that comes with your fryer. |
 Caveman Keto Weight loss through low carb cooking

Thanks for the recipe, this looks so good! Keep up the good work!
That looks awesome! Mentally preparing myself to ease myself into keto and your recipes are taking the worry away 🙂