As you know, I’ve recently become obsessed with deep frying. I’ve been frying up a storm and the whole process got me thinking on what would be the ideal cooking fat. I’ve always cooked my vegetables and pretty much everything with left over bacon fat from my bacon storage device; a honey pot of cooking oil goodness if you will. However, I could never store up enough bacon grease to use it for frying and the bacon grease tends to absorb some of the flavors of whatever you’re cooking. Enter lard. Lard is the term used for rendered pig fat. There are several different places on the pig that the fat can come from and leaf lard is the fat surrounding the kidneys. This is the most pure and yields a pure white fat that is preferred by bakers and cooks alike. So, let’s get rendering! Oh, a word of caution, if you’re going to use leaf lard for frying, make sure your deep fryer is capable of using animal fat as an oil, this will ruin certain models.
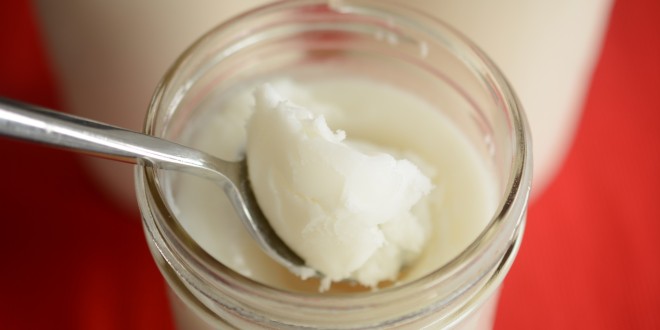
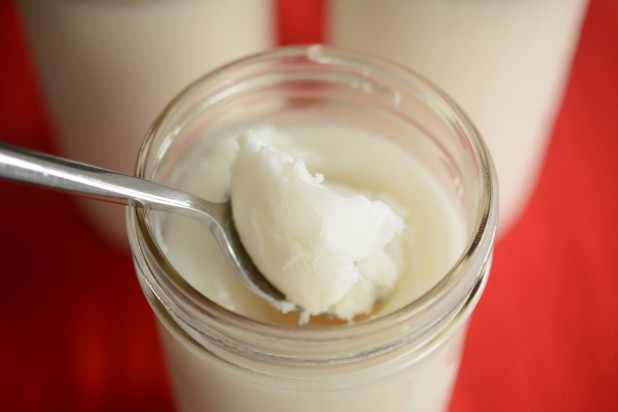 Behold, the creamy white goodness! The lard turned out really well! I wanted to give you a preview of the finished product before we went on.
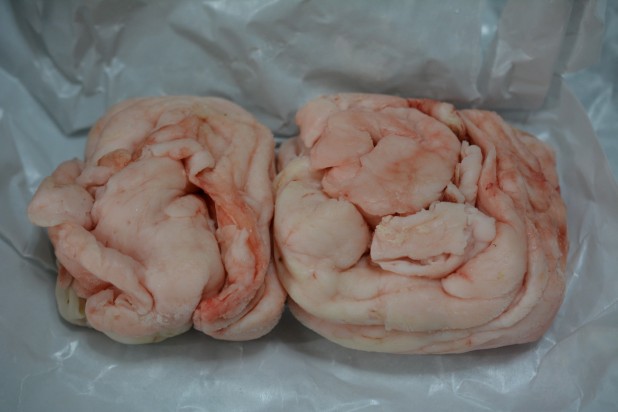
So, without further ado, may I present to you the leaf lard. This was the first set that I got. Apparently, its harder to get leaf lard than I had originally imagined. The first place I found was an organic butcher that gets whole pigs and does their own butchering. That part is cool. Unfortunately they only do one pig a week and you’re looking at the entire yield. Each pig yields about 1.4 lbs of raw fat which converts to about 1 lbs of rendered fat.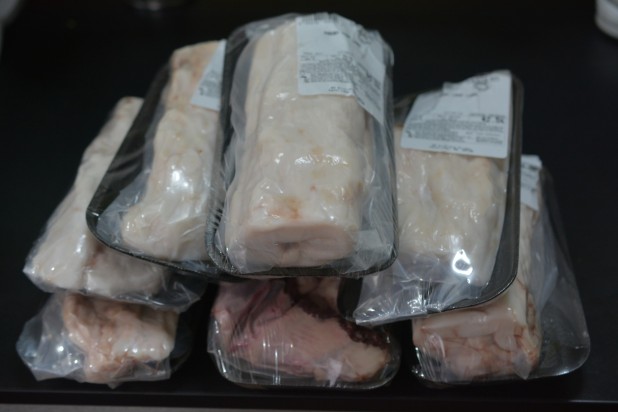
Luckily, I was able to find another store that carried leaf lard and I came home with the mother load shown above. Now I had enough to make it worth it!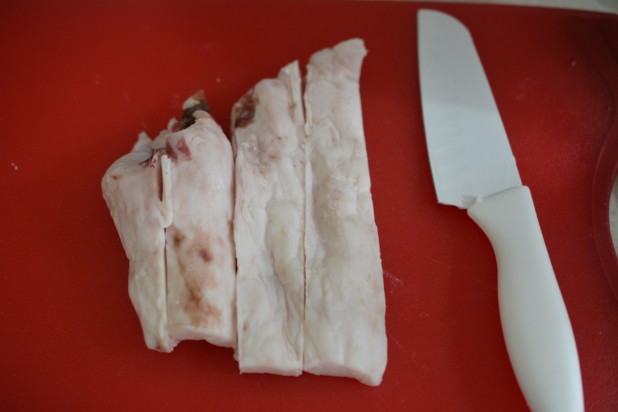
The first step was to cut up the fat into sections so I could grind it.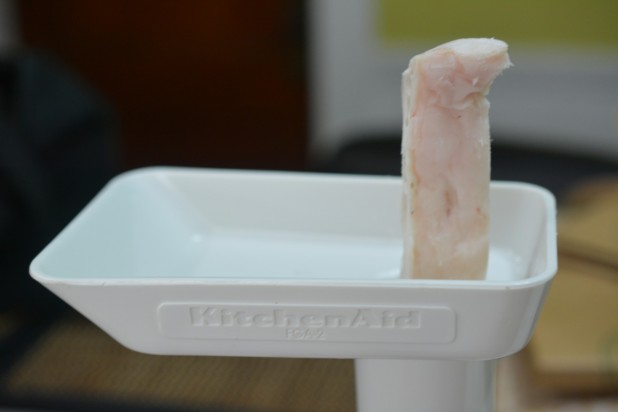 I inserted the fat sections into my food grinder to break up the fat. You could also chop up the fat into sections but this method really breaks the fat apart for faster rendering.
 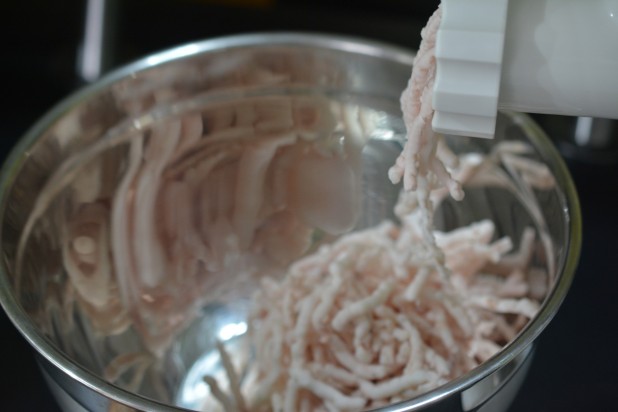 Here’s an action shot of the fat being ground.
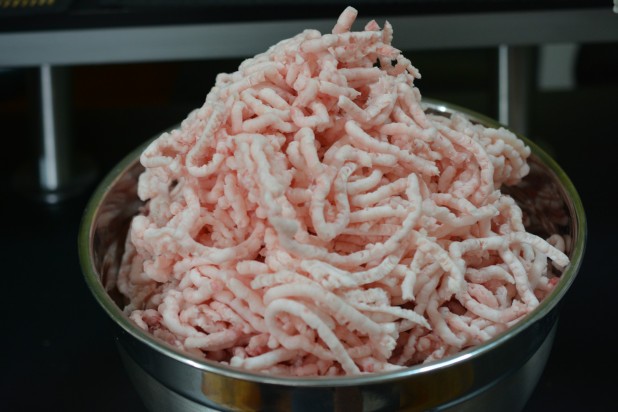
It almost overflowed the bowl! As you can see it reduced the fat into slivers.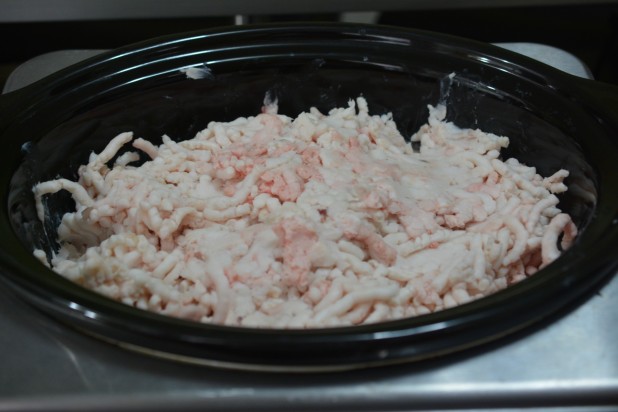 Now I took all the fat and jammed it into my crockpot. This one is 6.5 quarts and this is 7 lbs of raw fat. If you have a smaller crock pot you might consider doing it in batches. At this point you turn it on low and let it render. Some recipes call for adding a cup of water but I found that since I ground the fat, it wasn’t needed. The low setting of the crockpot didn’t burn the lard.
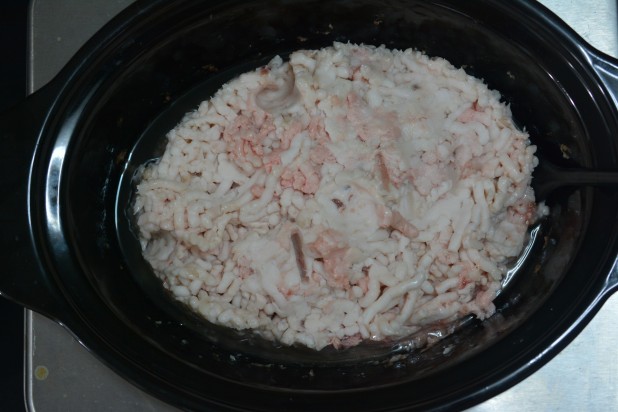
Here’s the progress after 45 minutes. You can see that rendered fat is starting to show up on the sides.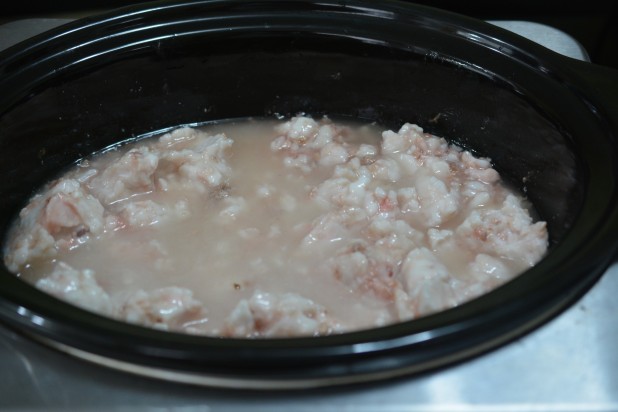
This is the same time frame, but I took a spoon and broke up the fat so it could render better.
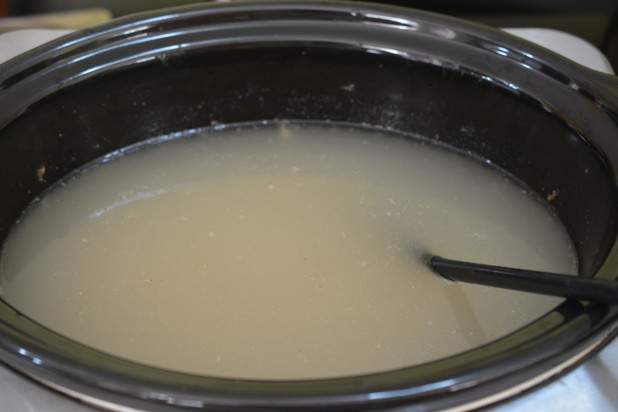
Now here is the rendered fat at 1.5 hours! It was actually shockingly easy to do. I thought there would be a lot more hassle and temperature control involved.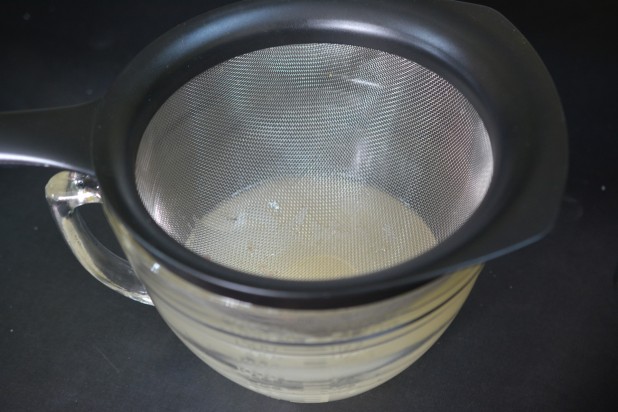
Next I set about starting to filter and separate the fat. I chose to do a two (well really three) stage filtration process. First, I scooped the fat off of the top of the crockpot with a ladle. The idea here is that there is sediment on the bottom of the rendered fat and for the first bit I wanted to get the clean fat off the top. Then I used a coarse strainer on top of a bowl with a pouring spot on in. This was the first stage of filtering to get out the large pieces. As you can see above, there really weren’t any at this point.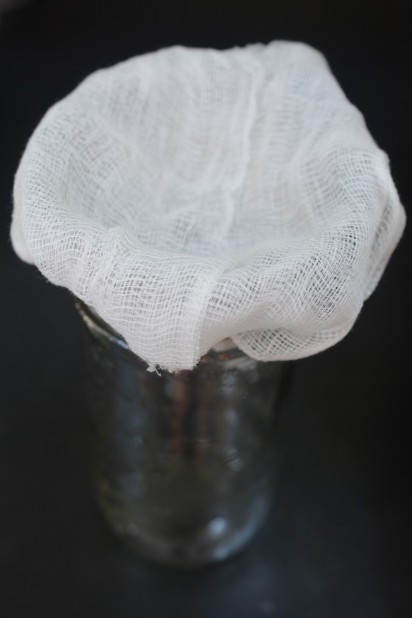 Next I took some cheesecloth on top of a funnel with a grate. This was the second and third stage of filtering. The cheesecloth should catch the smaller particles and the grate is just there because my funnel has a grate. I put this on top of a Mason Jar. I went with the wide mouth variety so it would be easy to get the fat in and out. The 1.5 pint size was just convenient but also these are capable of being frozen if you want to save the lard for a while.
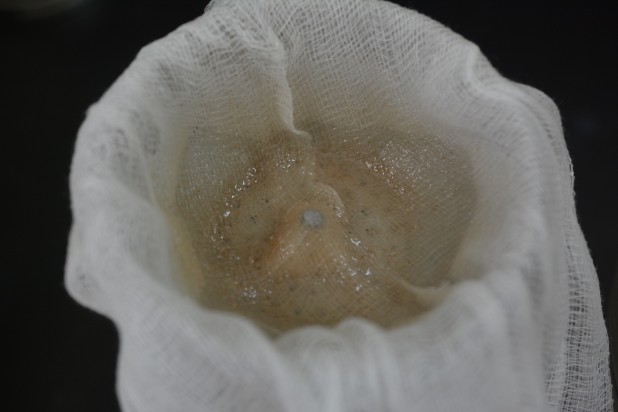
Here’s the cheesecloth in action! As you can see its filtering out some of the smaller particles and color.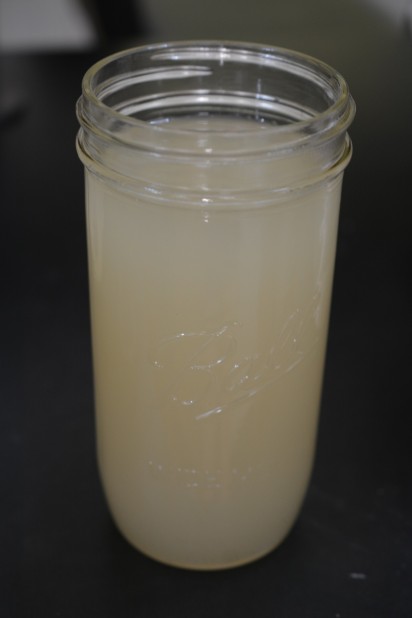
Here’s a picture of the rendered fat, still hot. It turns white once it hardens in the fridge.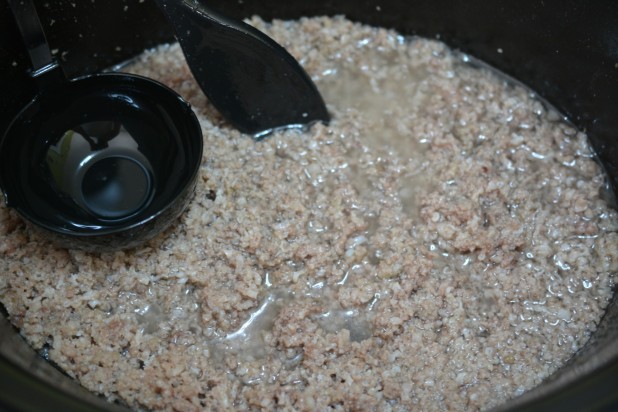
Here is what the bottom of the crockpot looks like. As you can see, I tried to get all of the grease with the ladle to put less work on the filtering. I actually filled three mason jars before I even got to the extras.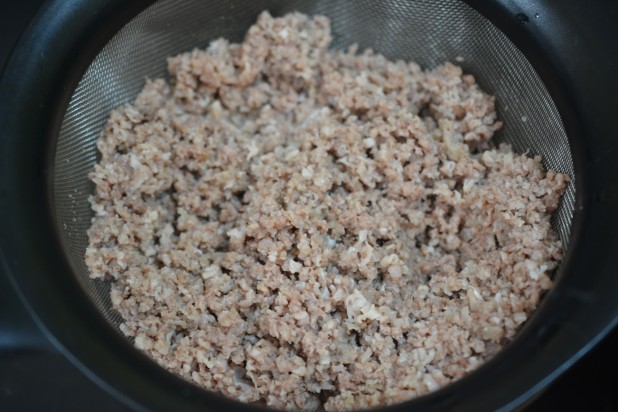
The last batch was a ton of extra bits. DON’T THROW THEM AWAY! These are the cracklings, basically ground up pork rinds!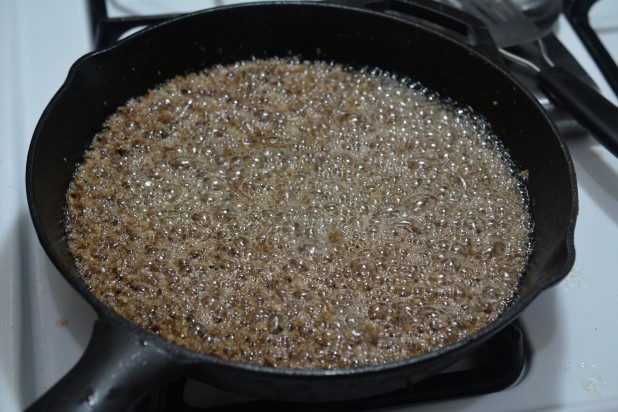
I pan fried them until crispy.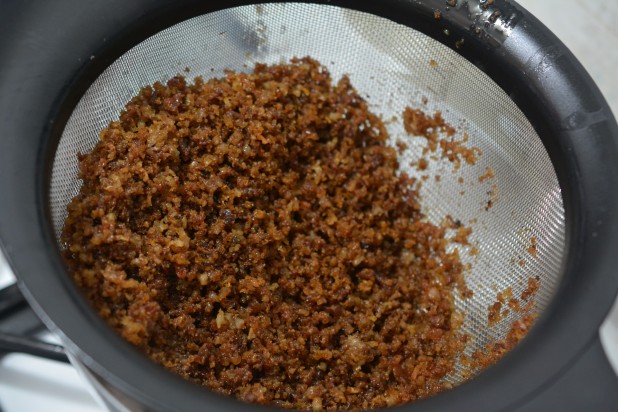
Threw them back in the strainer.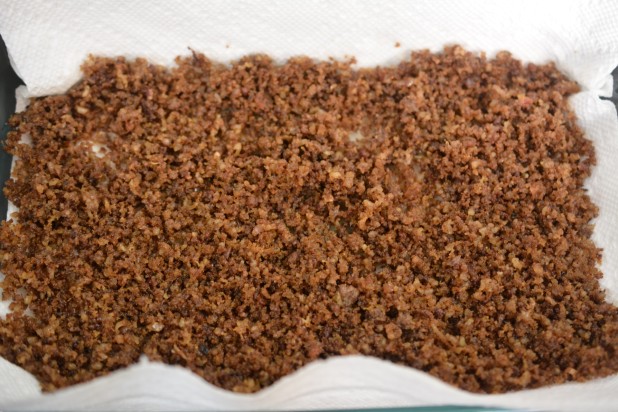
Then dried them on some paper towels. They’re good as a salad topping or as breading.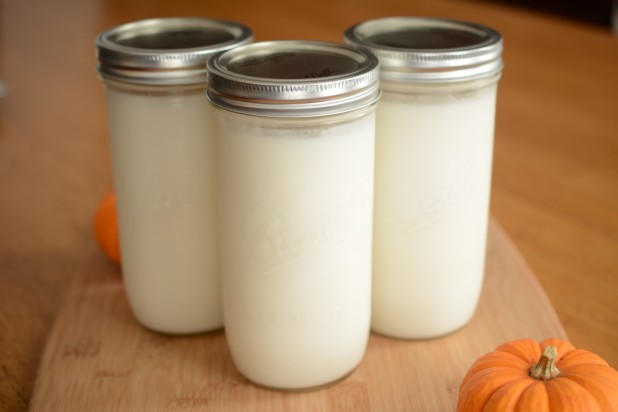
We there you have it folks, some high quality, creamy, white lard!!

- 7 Lbs Leaf Lard
- 1 Cup water (Optional)
- Cut up the leaf lard and grind in a meat grinder, if you don't have a meat grinder, just cut into small cubes
- Place in a crockpot on low for 1.5 lbs, stirring mid way to breakup the fat
- Ladle the fat into a storage device, filtering out any particulates using a strainer and cheesecloth
- Refrigerate or freeze the lard for future use!
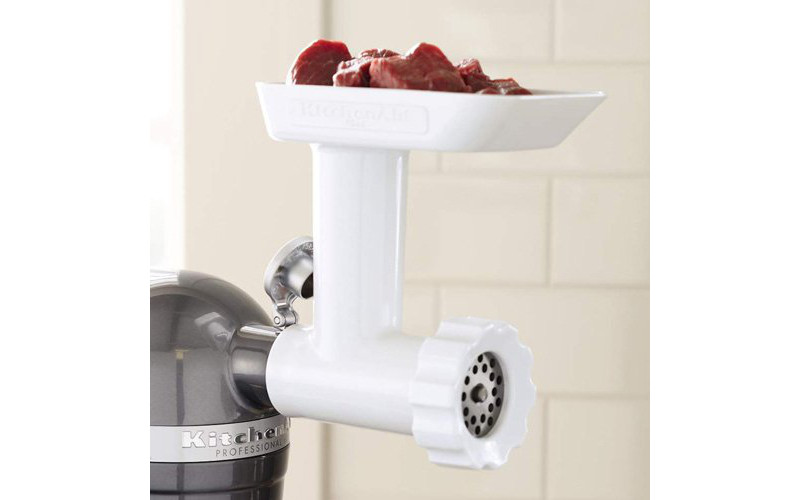 KitchenAid Food Grinder Attachment KitchenAid Food Grinder AttachmentKitchenAid mixers all have an accessory port on the front of the unit and this attachment allows you to grind all sorts of food! You can make your own hamburger meat mixes or even grind some meat! |
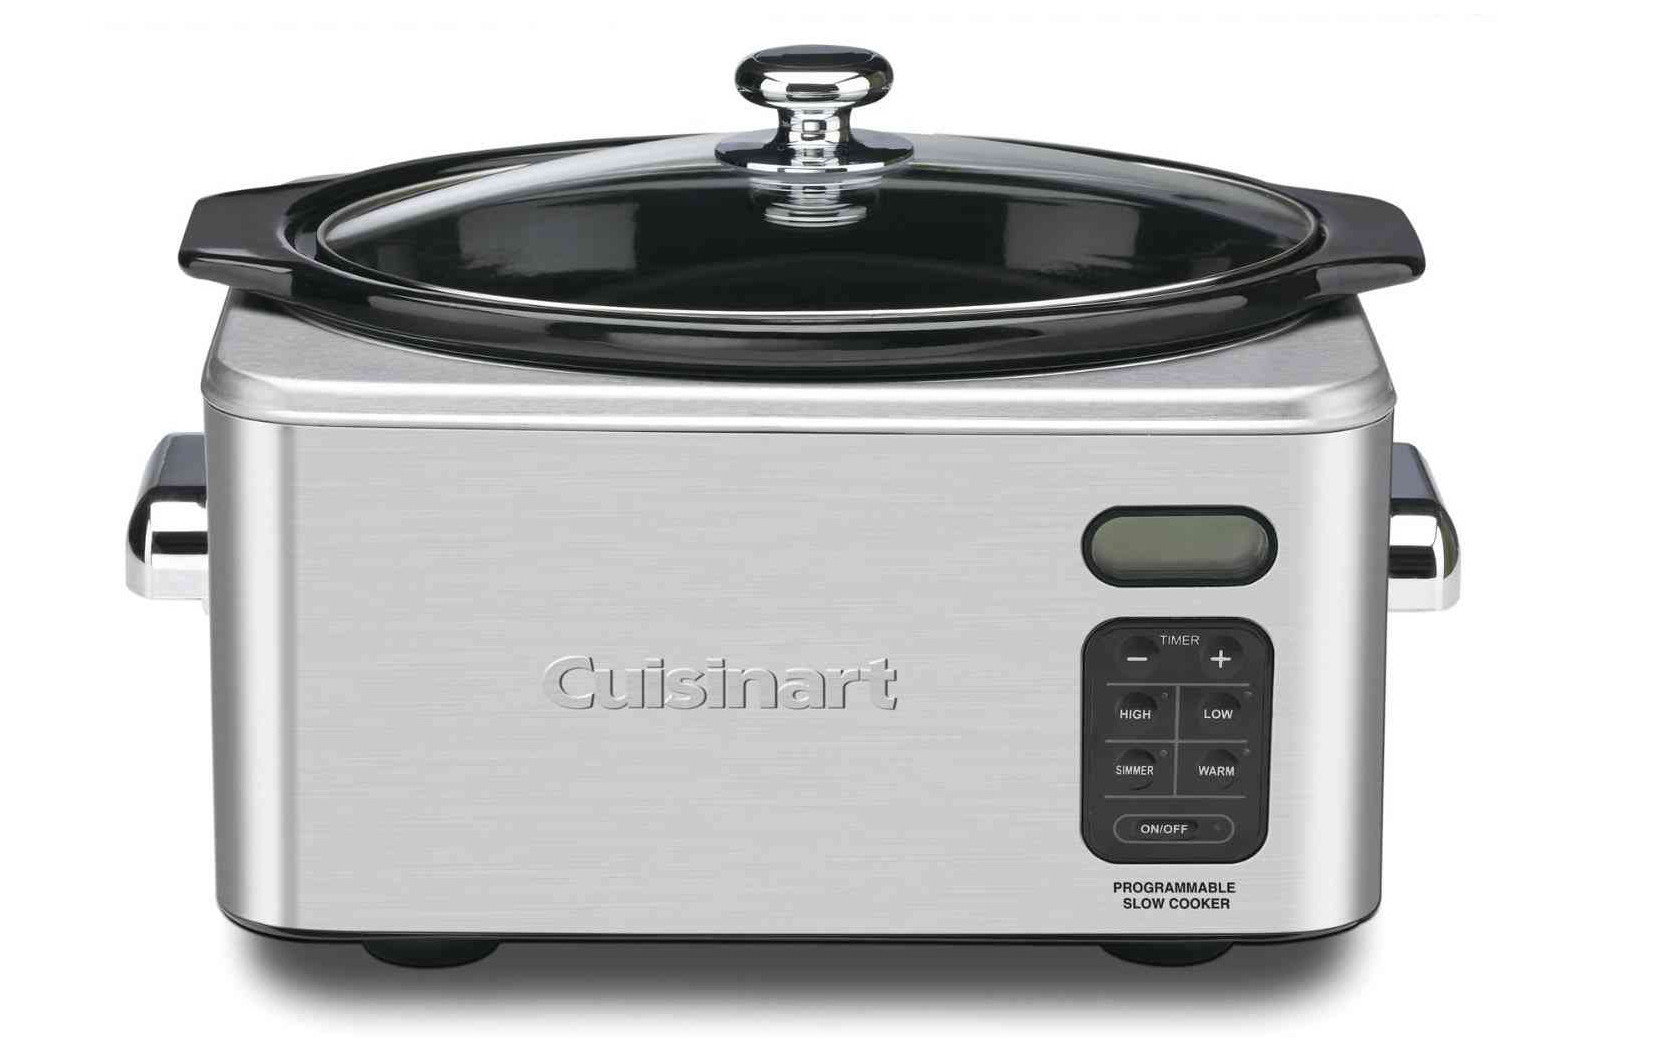 Cuisinart PSC-650 6-1/2-Quart Crockpot Cuisinart PSC-650 6-1/2-Quart CrockpotUseful for set it and a forget it meals where you place all the items into the crockpot and let it rip! Most crockpots use a ceramic, dishwasher safe bowl that’s heated from the outside to a low temperature which allows the ingredients to simmer for hours. |
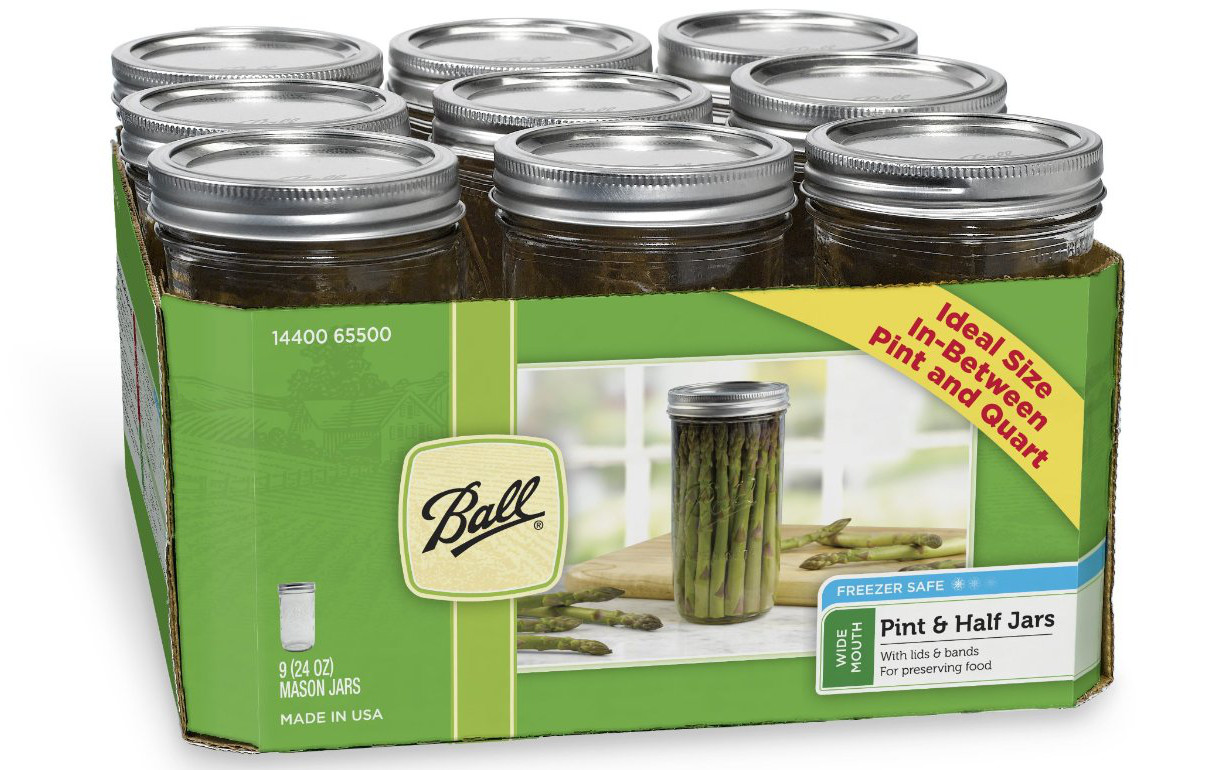 24 Ounce Wide Mouth Mason Jars 24 Ounce Wide Mouth Mason JarsThese versatile jars are great for storing rendered lard or anything for that matter. If you need to take a soup to work they can hold up to heat, cold and the microwave! They’re even becoming a fashionable drinking glass. |
 Caveman Keto Weight loss through low carb cooking


Why don’t you use coconut oil? It’s a very healthy fat?
I’ll bet leaf lard is about a magnitude of order cheaper than coconut oil; there may be a little work involved, but the money saved yields a useful product from something that might otherwise go to waste. I believe lard has a higher smoke point, as well.
I just got some leaf lard that looks like your first picture. There’s a red or pink film of, I guess, blood.
I tried cutting, scraping, and rubbing it off, but could not do it. I rendered it anyway at a very low temp. It’s very white, but has a slight piggy odor.
Did this happen with your first batch? Do you know how I can clean this stuff off the lard?
Thanks,
Tim
Does anyone know how I can clean this stuff off leaf lard?
What is the shelf life of the lard leaf and how can it be stored?
I store it in the fridge, the shelf life is long, probably at least 4-6 months if kept cold.
Can you reuse lard? In other words, if I deep fry some chicken covered in cracklings, can I let the lard cool, strain it, put it back in a jar, refrigerate and reuse it at a later time?
Yeah, definitely, I reuse it 4-6 times before I pitch it.
Great instructions!
You can actually store the lard at room temperature! And yes it is the fat of choice for high temp. cooking and frying, even better than coconut!
Do you cover the crock pot while the leaf lard is rendering?
Thanks!